

Embarking on beginner-friendly DIY projects is a simple yet powerful way to transform your living spaces and reconnect with the enjoyment of hands-on creativity. Whether you’re swapping out a light fixture indoors to warm up a cozy corner or adding solar lights along a garden path to create evening ambiance, small improvements can have a surprisingly big impact. These projects not only enhance the look and feel of your home, but they also empower you with new skills and a sense of accomplishment. You don’t need a toolbox full of tools or professional experience—just a bit of curiosity and the willingness to start. By investing just a little time, you can make your space more functional, inviting, and uniquely yours. Start small, and let the satisfaction of simple upgrades spark bigger ideas.
Spring is the perfect season to tackle quick home improvements — the days are longer, the natural light is brighter, and there’s an undeniable energy in the air that inspires fresh starts. It’s the ideal time to finally swap out that harsh overhead bulb, add a bit of warmth to your living room, or bring your outdoor space to life. One of the easiest and most transformative ways to refresh your home is through lighting upgrades, and the best part? Many of them take just 15 minutes or less. Whether you’re installing a dimmer switch for customized ambiance, sticking LED strip lights under your kitchen cabinets, or replacing outdated bulbs with energy-saving LEDs, these small changes deliver big impact. For DIY beginners, these projects are low-effort, high-reward — no need for advanced tools or complicated steps. Just a little time and a few thoughtful updates can completely change the way your space looks and feels, making spring the perfect launch point for a brighter, more inviting home.
Indoor Dimmer Project
Installing dimmer switches offers several practical benefits that go beyond just adjusting brightness — they enhance both comfort and efficiency in your home. Craving customized ambiance? Dimmers let you tailor the lighting to suit the mood or activity — bright light for reading or cooking, and soft , warm light for relaxing evenings or entertaining guests. Serious about saving money? Reducing light levels with a dimmer decreases the amount of electricity used, which can lower your utility bills over time — especially when paired with dimmable LED bulbs. Interested in increasing home value? Dimmers add a subtle touch of modernity and flexibility to your home lighting system, which can be appealing to future home buyers.

Steps for Installation:
What You’ll Need:
- Dimmer switch (make sure it’s compatible with your light bulbs, especially if you’re using LEDs)
- Screwdriver (flathead and Philips)
- Voltage tester
- Wire strippers (if necessary)
- Electrical tape (optional)
- Pliers (optional)
1. Turn Off Power
-
Safety first! Go to your home’s circuit breaker and turn off the power to the light switch you plan to replace. Double-check by flipping the existing switch on and off. If the light doesn’t come on, you’re good to proceed.
2. Remove the Old Switch
- Use a screwdriver to remove the screws holding the existing switch cover plate in place.
- Unscrew the screws that hold the switch in the electrical box.
- Carefully pull the switch away from the wall, exposing the wiring behind it.
- Use a voltage tester to double-check that no power is running through the wires before you continue.
3. Disconnect the Wires
- Note how the wires are connected to the old switch. You’ll usually have two wires (hot wires) connected to the switch terminals and a ground wire (sometimes).
- Loosen the screws on the switch terminals and disconnect the wires. Keep track of which wire is connected to which terminal (you can take a photo for reference).
4. Prepare the New Dimmer Switch
- If your dimmer switch has adjustable screws or connectors, attach the wires to the correct terminals on the new dimmer switch (usually marked “L“ for live or “COM“ for common).
- Connect the ground wire (green or bare copper wire) to the ground screw on the dimmer switch.
- If the dimmer has a neutral wire (usually white), connect it accordingly (not all dimmers require this).
- Use wire strippers if necessary to remove a bit of insulation from the ends of the wires.
5. Secure the Dimmer Switch in the Electrical Box
- Carefully tuck the wires back into the electrical box.
- Screw the dimmer switch into place using the screws provided, ensuring the switch is level and secure.
6. Attach the Wall Plate
-
Once the dimmer is mounted, screw the wall plate back into place.
7. Turn the Power Back On
- Go back to the circuit breaker and flip the power back on.
- Test the dimmer switch by turning it on and adjusting the brightness. Make sure everything works smoothly.
8. Enjoy Your New Lighting Control!
-
Now you have full control over your lighting ambiance, saving energy and enhancing the atmosphere with just a flick of your finger.
💡 PRO Tip: If you’re using LED bulbs with your dimmer, make sure the dimmer is designed for LEDs to avoid flickering or buzzing. This project is quick, easy, and will make a big difference in both the atmosphere of your space and energy usage. Would you like help choosing a dimmer switch that’s right for your setup?
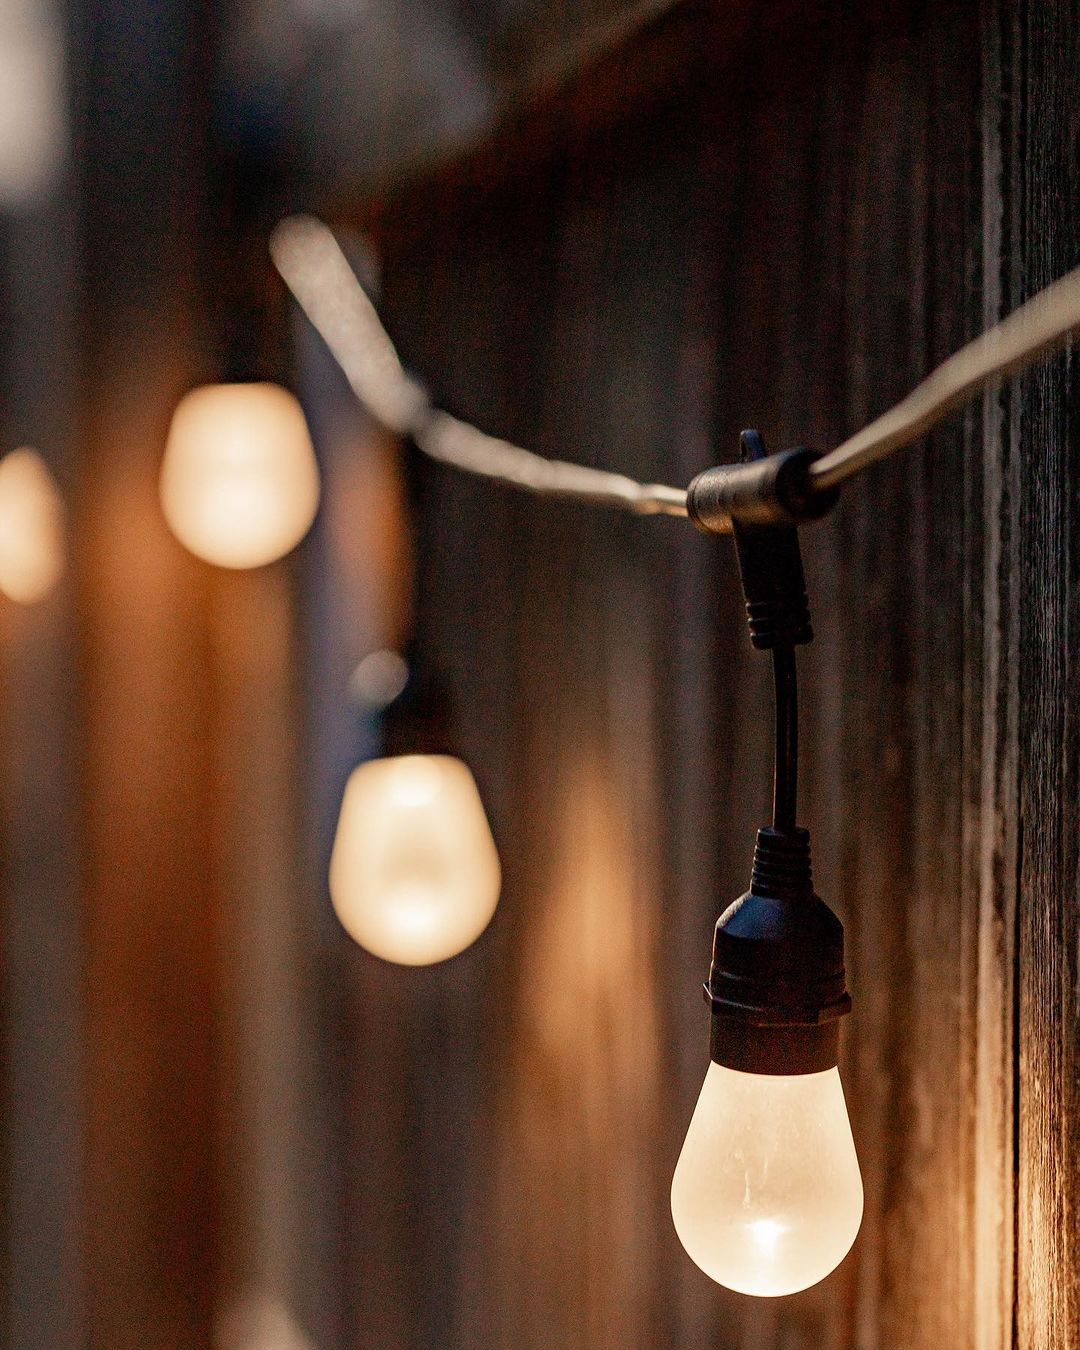
Outdoor String Light Project
Hanging string lights outdoors is a simple yet highly effective way to elevate the ambiance of any patio, deck, balcony, or backyard space. Their warm, inviting glow instantly creates a cozy, festive atmosphere — perfect for everything from casual weeknight dinners to weekend gatherings. Beyond aesthetics, string lights also provide functional illumination, extending the usability of your outdoor space well into the evening without the need for harsh floodlights. They’re incredibly versatile and easy to install, often requiring nothing more than a few hooks, zip ties, or a railing. Plus, they’re energy-efficient and low-maintenance, making them a practical choice for both renters and homeowners.
Whether draped through trees, strung along a fence, or hung overhead, string lights transform outdoor areas into welcoming retreats with minimal time and effort. Here’s a simple step-by-step guide for hanging string lights yourself — an easy DIY project that adds instant charm and functionality to any outdoor space.
Steps for Installation:
What You’ll Need:
- Outdoor-rated string lights
- Measuring tape
- Hooks, cup hooks, or command hooks (for walls/fences)
- Zip ties or cable clips (for railings or poles)
- Extension cord (if needed)
- Optional: String light poles or planter stands for freestanding setups
1. Plan Your Layout
- Measure the area where you want to hang the lights (e.g., patio, pergola, fence).
- Sketch a quick layout or visualize how you want the lights to drape (straight lines, zigzag, canopy-style, etc.).
- Make sure there’s an accessible power outlet nearby.
2. Choose Your Mounting Points
- Use existing structures like trees, fences, walls, or rooflines.
- For open spaces, use string light poles, tall planters with poles, or freestanding hooks.
- Mark the spots where your hooks or supports will go.
3. Install Mounting Hardware
- Screw in cup hooks or install adhesive hooks at your marked points.
- If attaching to a pole or railing, use zip ties or light clips.
- Make sure each mounting point can support a bit of tension without pulling loose.
4. Hang the Lights
- Start at the plug end, and work your way along your planned path.
- Drape or secure the lights to each mounting point, allowing for a slight dip or swag between supports.
- Keep the line loose enough to avoid tension that could damage the wires.
5. Secure and Test
- Double-check that all hooks and ties are secure.
- Plug in the lights and test the full strand to ensure all bulbs are working.
💡 PRO Tip: Use LED bulbs for energy efficiency and longer life. Consider commercial grade materials safety and durability outdoors. For temporary events, removable adhesive hooks are a great no-damage option.
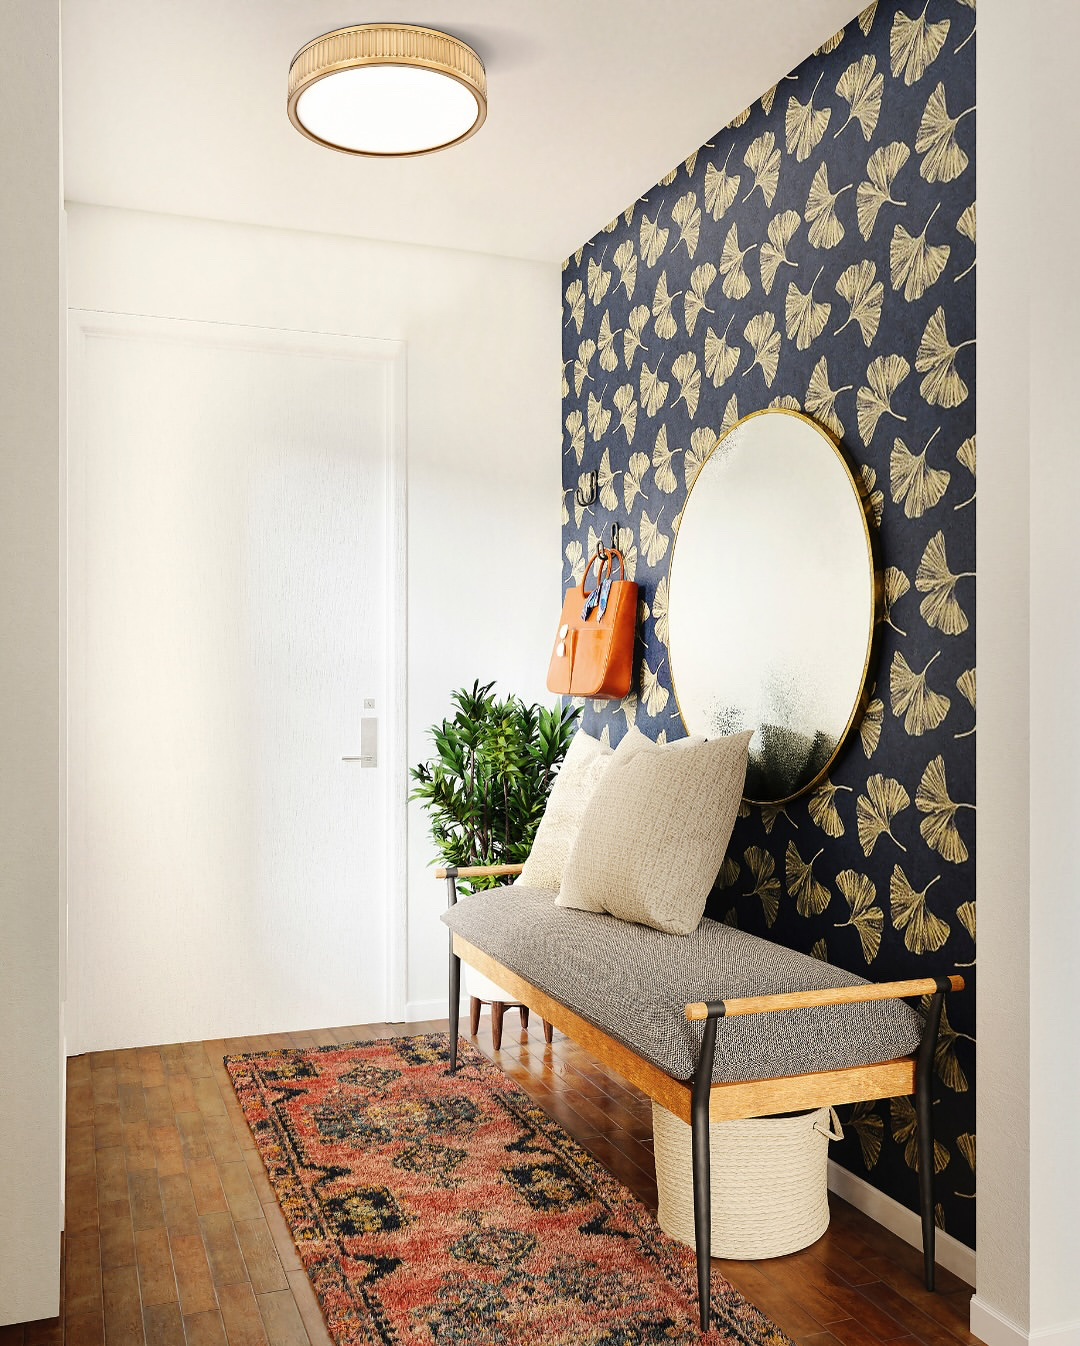
Indoor Flush Mount Project
Swapping out builder-grade flush mount lights is a simple, high-impact upgrade that delivers a range of practical benefits for both style and function. Builder-grade fixtures often use outdated bulbs and materials that cast dim, uneven, or yellowish light. Replacing them with modern fixtures—especially those compatible with LEDs—provides brighter, cleaner, and more efficient lighting, improving visibility and comfort in high-use areas like hallways, bedrooms or kitchens. Standard flush mounts (often jokingly called “boob lights”) are usually generic and outdated. Upgrading to a more modern or decorative fixture can dramatically enhance your room’s overall look, giving it a more personalized and polished feel without needing to redecorate the whole space.
Most flush mount light swaps take around 15 minutes with basic tools and minimal wiring knowledge. It’s a manageable weekend DIY task that delivers an outsized visual and functional payoff. Upgrading gives you the chance to choose the right size, style, and brightness level for your space. Whether you want something low-profile, dimmable, or with integrated smart lighting, the options are far more versatile than the basic fixtures installed during construction. Here’s a quick and easy guide to help you safely replace a flush mount ceiling light—perfect for DIY beginners looking to refresh their space.
What You’ll Need:
- New flush mount light fixture
- Screwdriver (usually Philips)
- Wire strippers (optional)
- Voltage tester
- Ladder or step stool
- Wire nuts (usually included with the new fixture)
- Electrical tape (optional)
1. Turn Off the Power
- Go to your breaker box and shut off power to the room where you’re working.
- Use the voltage tester to make sure there’s no electricity flowing to the fixture.
2. Remove the Old Fixture
- Climb onto your ladder and unscrew the glass dome or cover from the existing light.
- Unscrew the mounting screws holding the base to the ceiling.
- Carefully pull the fixture down and disconnect the wires—usually black (hot), white (neutral), and bare copper or green (ground).
- Remove any old mounting bracket if it doesn’t match the new fixture’s hardware.
3. Install the New Mounting Bracket
- Attach the new mounting bracket (included with your new fixture) to the electrical box using screws.
- Make sure it’s flush and secure—this provides the base for your new light.
4. Connect the Wires
- Connect the black wire to black, white to white, and ground to ground.
- Twist the wires together and secure each connection with a wire nut.
- You can wrap each wire nut with electrical tape for extra security if you’d like.
5. Attach the New Fixture
- Tuck the wires neatly into the electrical box.
- Align the base of the new fixture with the bracket and secure it with screws.
- Add the cover, globe, or decorative elements according to the manufacturer’s instructions.
6. Restore Power & Test
- Go back to your breaker and turn the power back on.
- Flip the switch to make sure everything works properly.
💡 PRO Tip: Choose an LED-compatible fixture to save energy and reduce heat. If installing a dimmable fixture, pair it with a compatible dimmer switch. Always check the weight limit of your ceiling box – most standard boxes support fixtures up to 50 lbs.
Ready to brighten your space but not sure where to start? Contact our lighting experts today for personalized guidance on the best fixtures, styles, and upgrades for your home. Whether you’re tackling a quick weekend project or planning a full refresh, we’re here to help you find the perfect lighting solutions—simple, stylish, and stress-free. Explore PROLIGHTING’s products and lighting solutions. Reach out now and let’s light up your spring refresh together!


Comments are closed.