
Planning Your Recessed Lighting Layout
Recessed lighting planning requires more than picking fixtures and hoping for the best. The difference between properly spaced LED recessed lighting and a poorly planned recessed lighting design shows up immediately: dark corners, spotlight effects on walls, or excessive glare from too-bright fixtures placed too close together. Whether you’re planning a kitchen recessed lighting layout or determining bathroom recessed lighting placement, the calculations matter for accurate recessed lighting spacing.
This guide covers the spacing formulas, room-specific layout strategies, and fixture selection criteria that determine whether your recessed lighting spacing creates even illumination or leaves you troubleshooting after installation. From the 70% rule for maximum fixture spacing to understanding CCT options, we’ll walk through the planning decisions that should happen before you buy fixtures.
📚 Table of Contents
- The 70% Rule: Spacing Fundamentals
- Kitchen Recessed Lighting
- Bathroom Recessed Lighting
- Living Room & Bedroom Lighting
- Outdoor Recessed Lighting
- Recessed Lighting for Vaulted and Sloped Ceilings
- Fixture Selection Guide
- Dimming Compatibility
- Frequently Asked Questions
The 70% Rule: Spacing Fundamentals
Maximum spacing between recessed downlights should be 70% of your ceiling height. This prevents dark spots between fixtures while maintaining even light distribution.
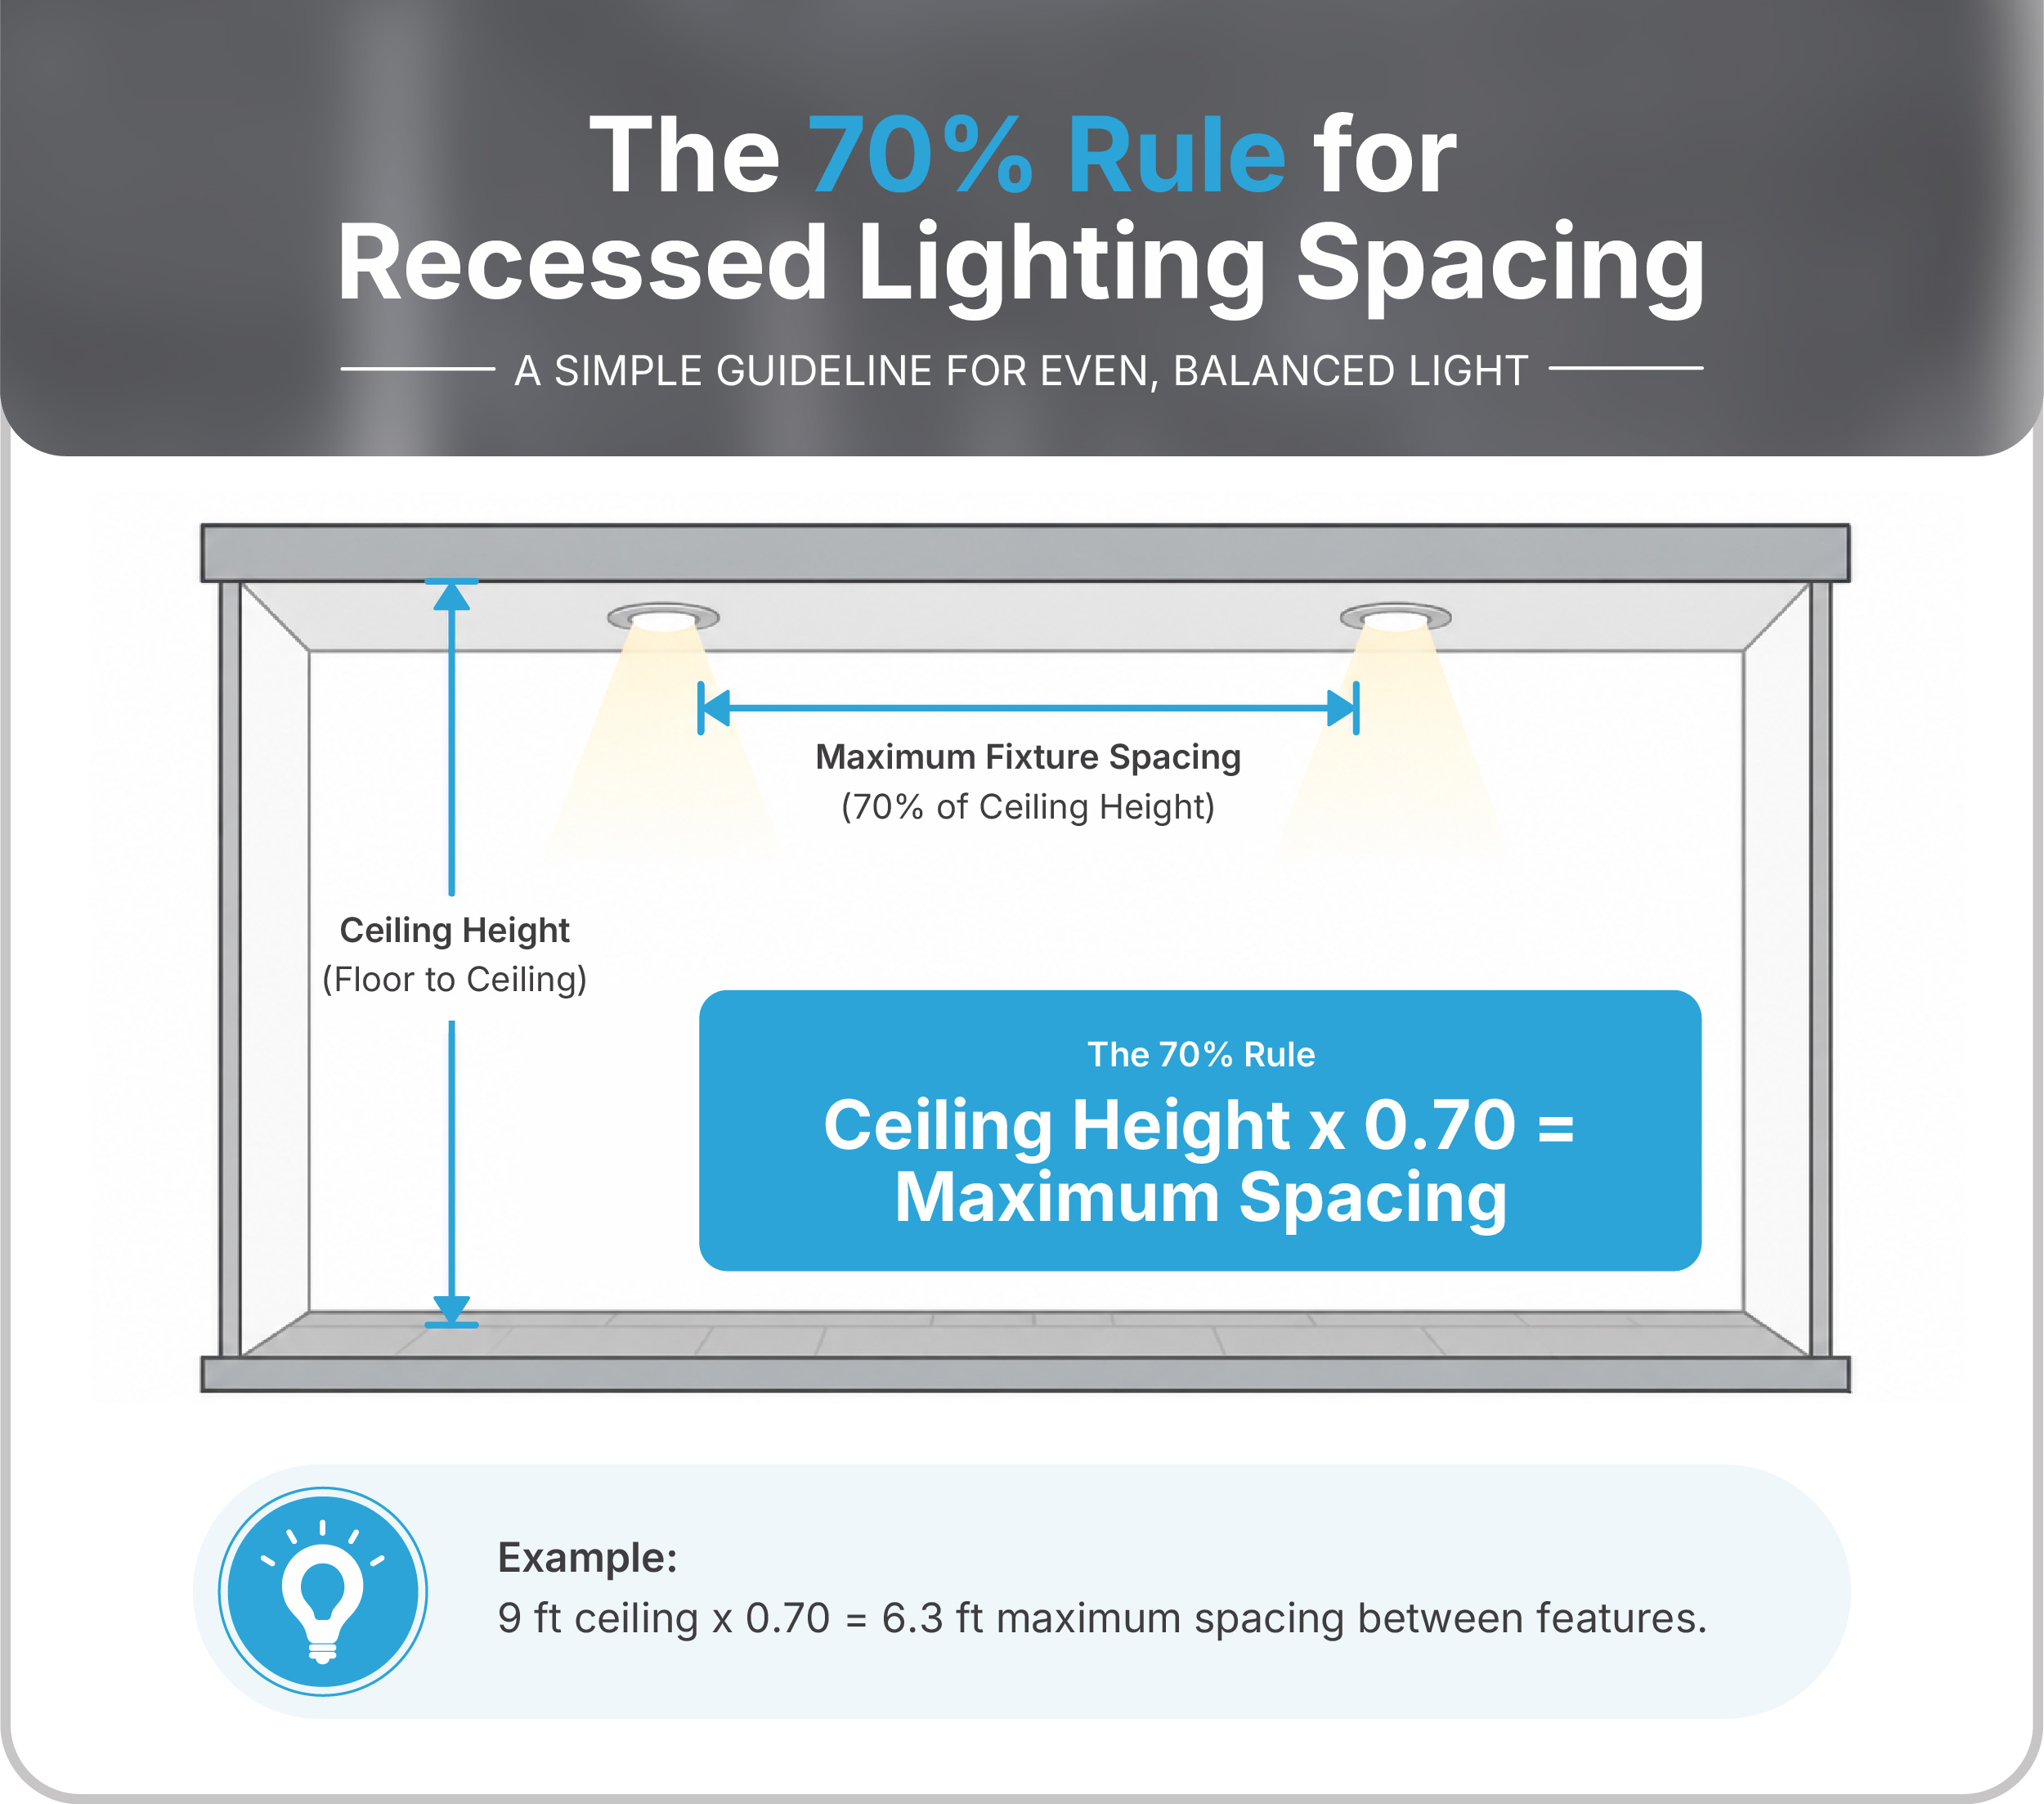
The formula: Ceiling height × 0.70 = Maximum spacing between fixtures
Examples by ceiling height:
- 8 ft ceilings: 5.6 ft maximum spacing (roughly 5’6″)
- 9 ft ceilings: 6.3 ft maximum spacing (roughly 6’4″)
- 10 ft ceilings: 7 ft maximum spacing
- 12 ft ceilings: 8.4 ft maximum spacing (roughly 8’5″)
Wall spacing rule: Position the first fixture half the spacing distance from walls. For 10-foot ceilings with 7-foot maximum spacing, place fixtures 3.5 feet from walls.
Why this matters: The 70% rule accounts for typical beam spread of recessed downlights (usually 60-90 degrees). Fixtures spaced further apart create dark spots. Fixtures placed too close waste energy and create overlapping light patterns that feel harsh rather than ambient.
Beam angle considerations:
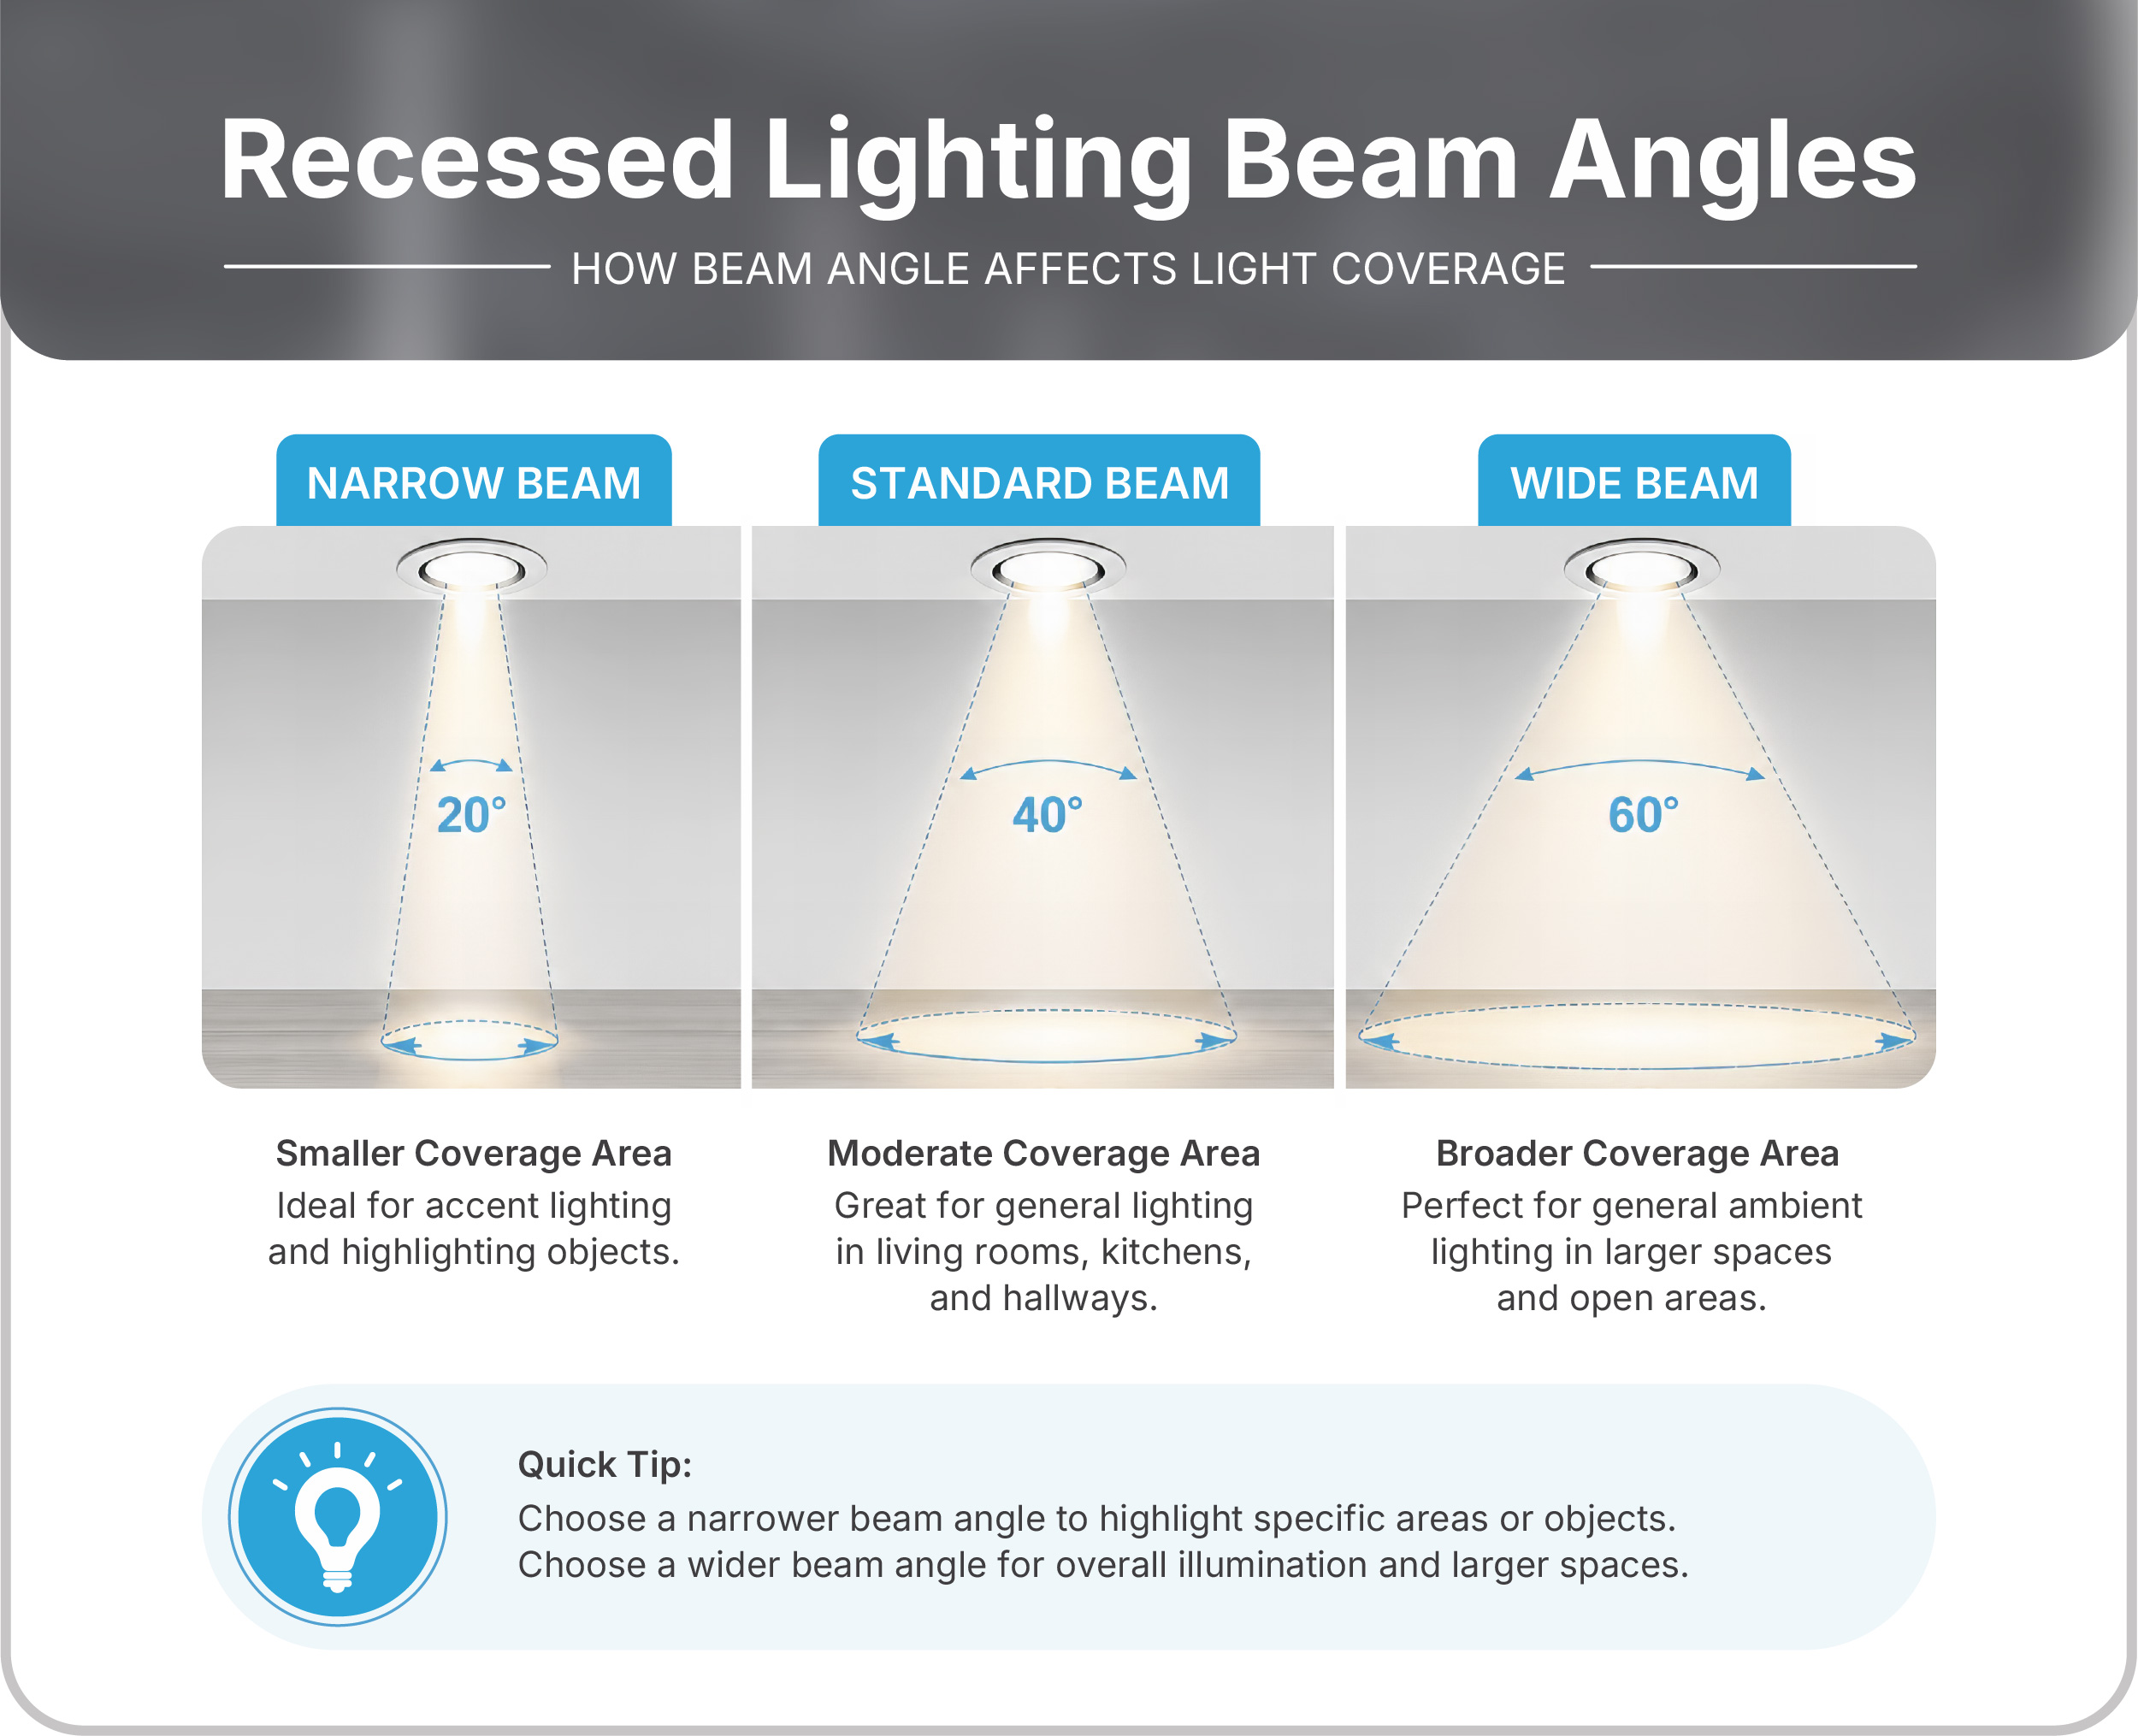
- Narrow beams (25-40°) require closer spacing for even coverage
- Standard beams (60-80°) work with the 70% rule as written
- Wide beams (90°+) can handle slightly wider spacing
PRO TIP: Tighter fixture spacing with lower lumen (brightness) fixtures creates more uniform lighting than fewer bright fixtures spread at maximum distance. This reduces contrast between lit and shadowed areas.
Kitchen Recessed Lighting Planning
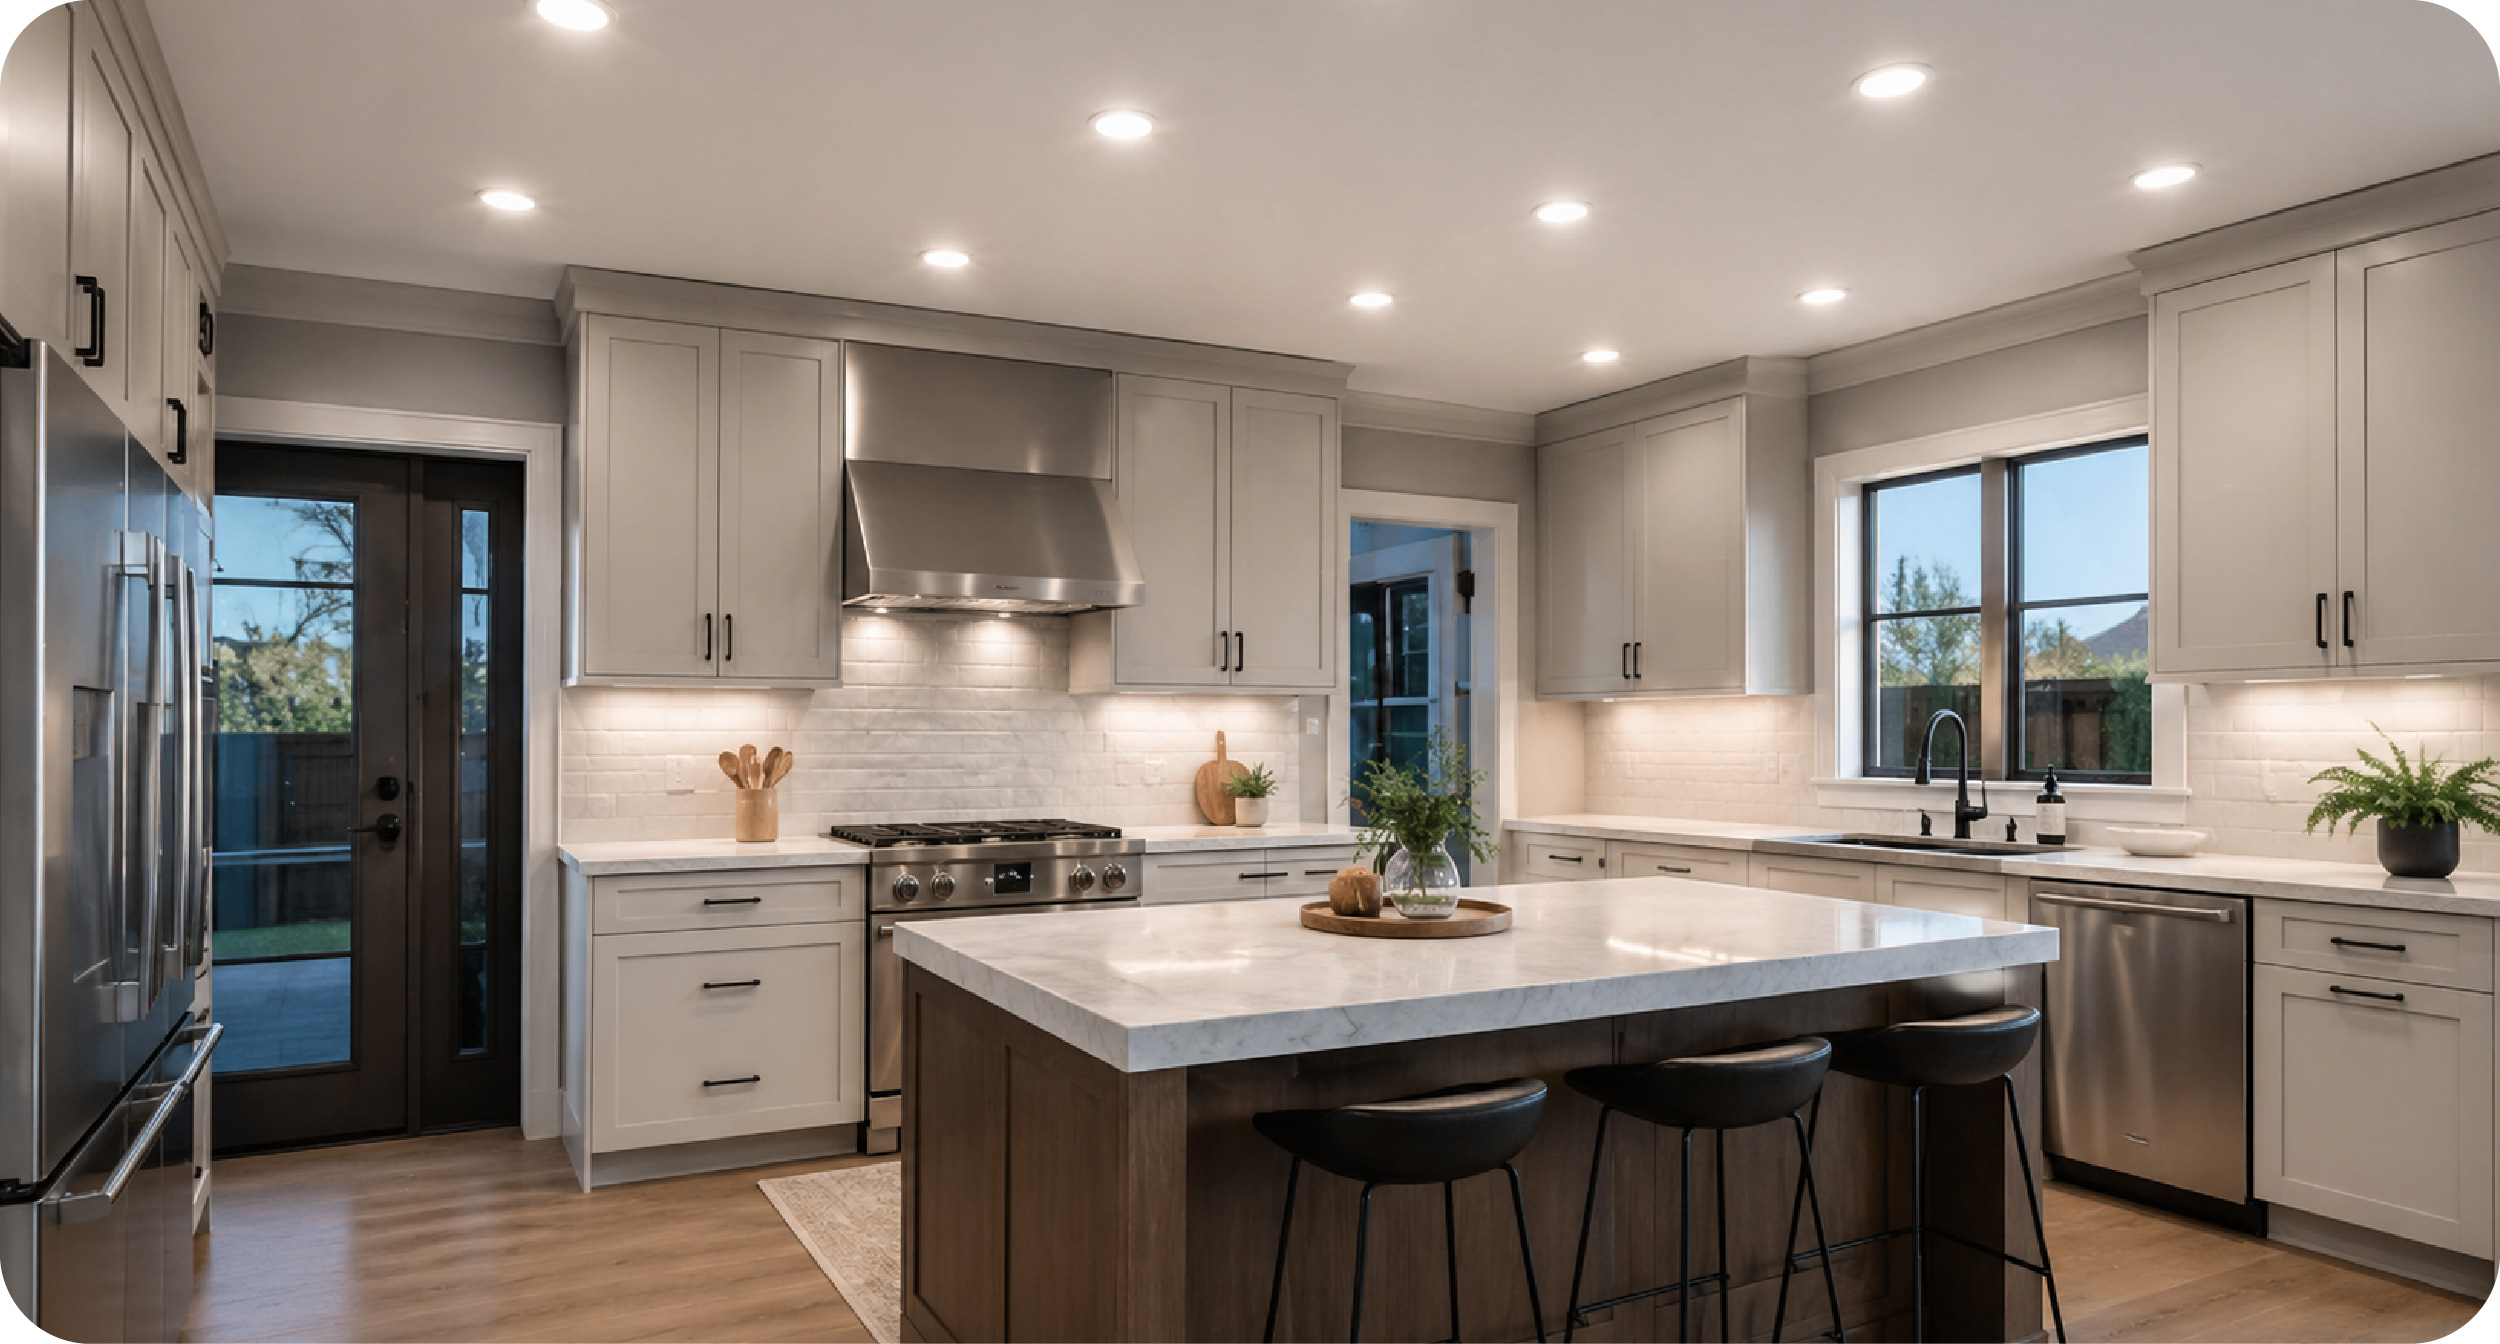
Kitchen recessed lighting layout planning starts with identifying your work zones before drawing any fixture grid. Kitchen layouts fall into two categories for lighting purposes: open floor plans and galley-style configurations. Each requires different fixture placement strategies. When you plan recessed lighting in any kitchen, align placement to support primary work zones and avoid glare.
PRO TIP: For precise kitchen recessed lighting placement, center beams on the outer edges of countertops to minimize shadows on work surfaces, and keep trims aligned with cabinet runs for a clean visual line.
Open kitchens (U-shaped, L-shaped, islands):
Start with perimeter coverage, then address the island or peninsula separately. For an open kitchen with 9-foot ceilings, place fixtures approximately 6 feet apart following the 70% rule, with the first fixture 3 feet from walls. Confirm that spacing balances task and ambient needs without over-lighting.
Island lighting requires coordination with pendant fixtures if you’re using both. Position recessed downlights to provide task lighting on the island surface while avoiding direct conflict with pendant placement. If pendants hang over the island, place recessed fixtures to illuminate the perimeter work surface rather than directly over the island center.
Galley kitchens:
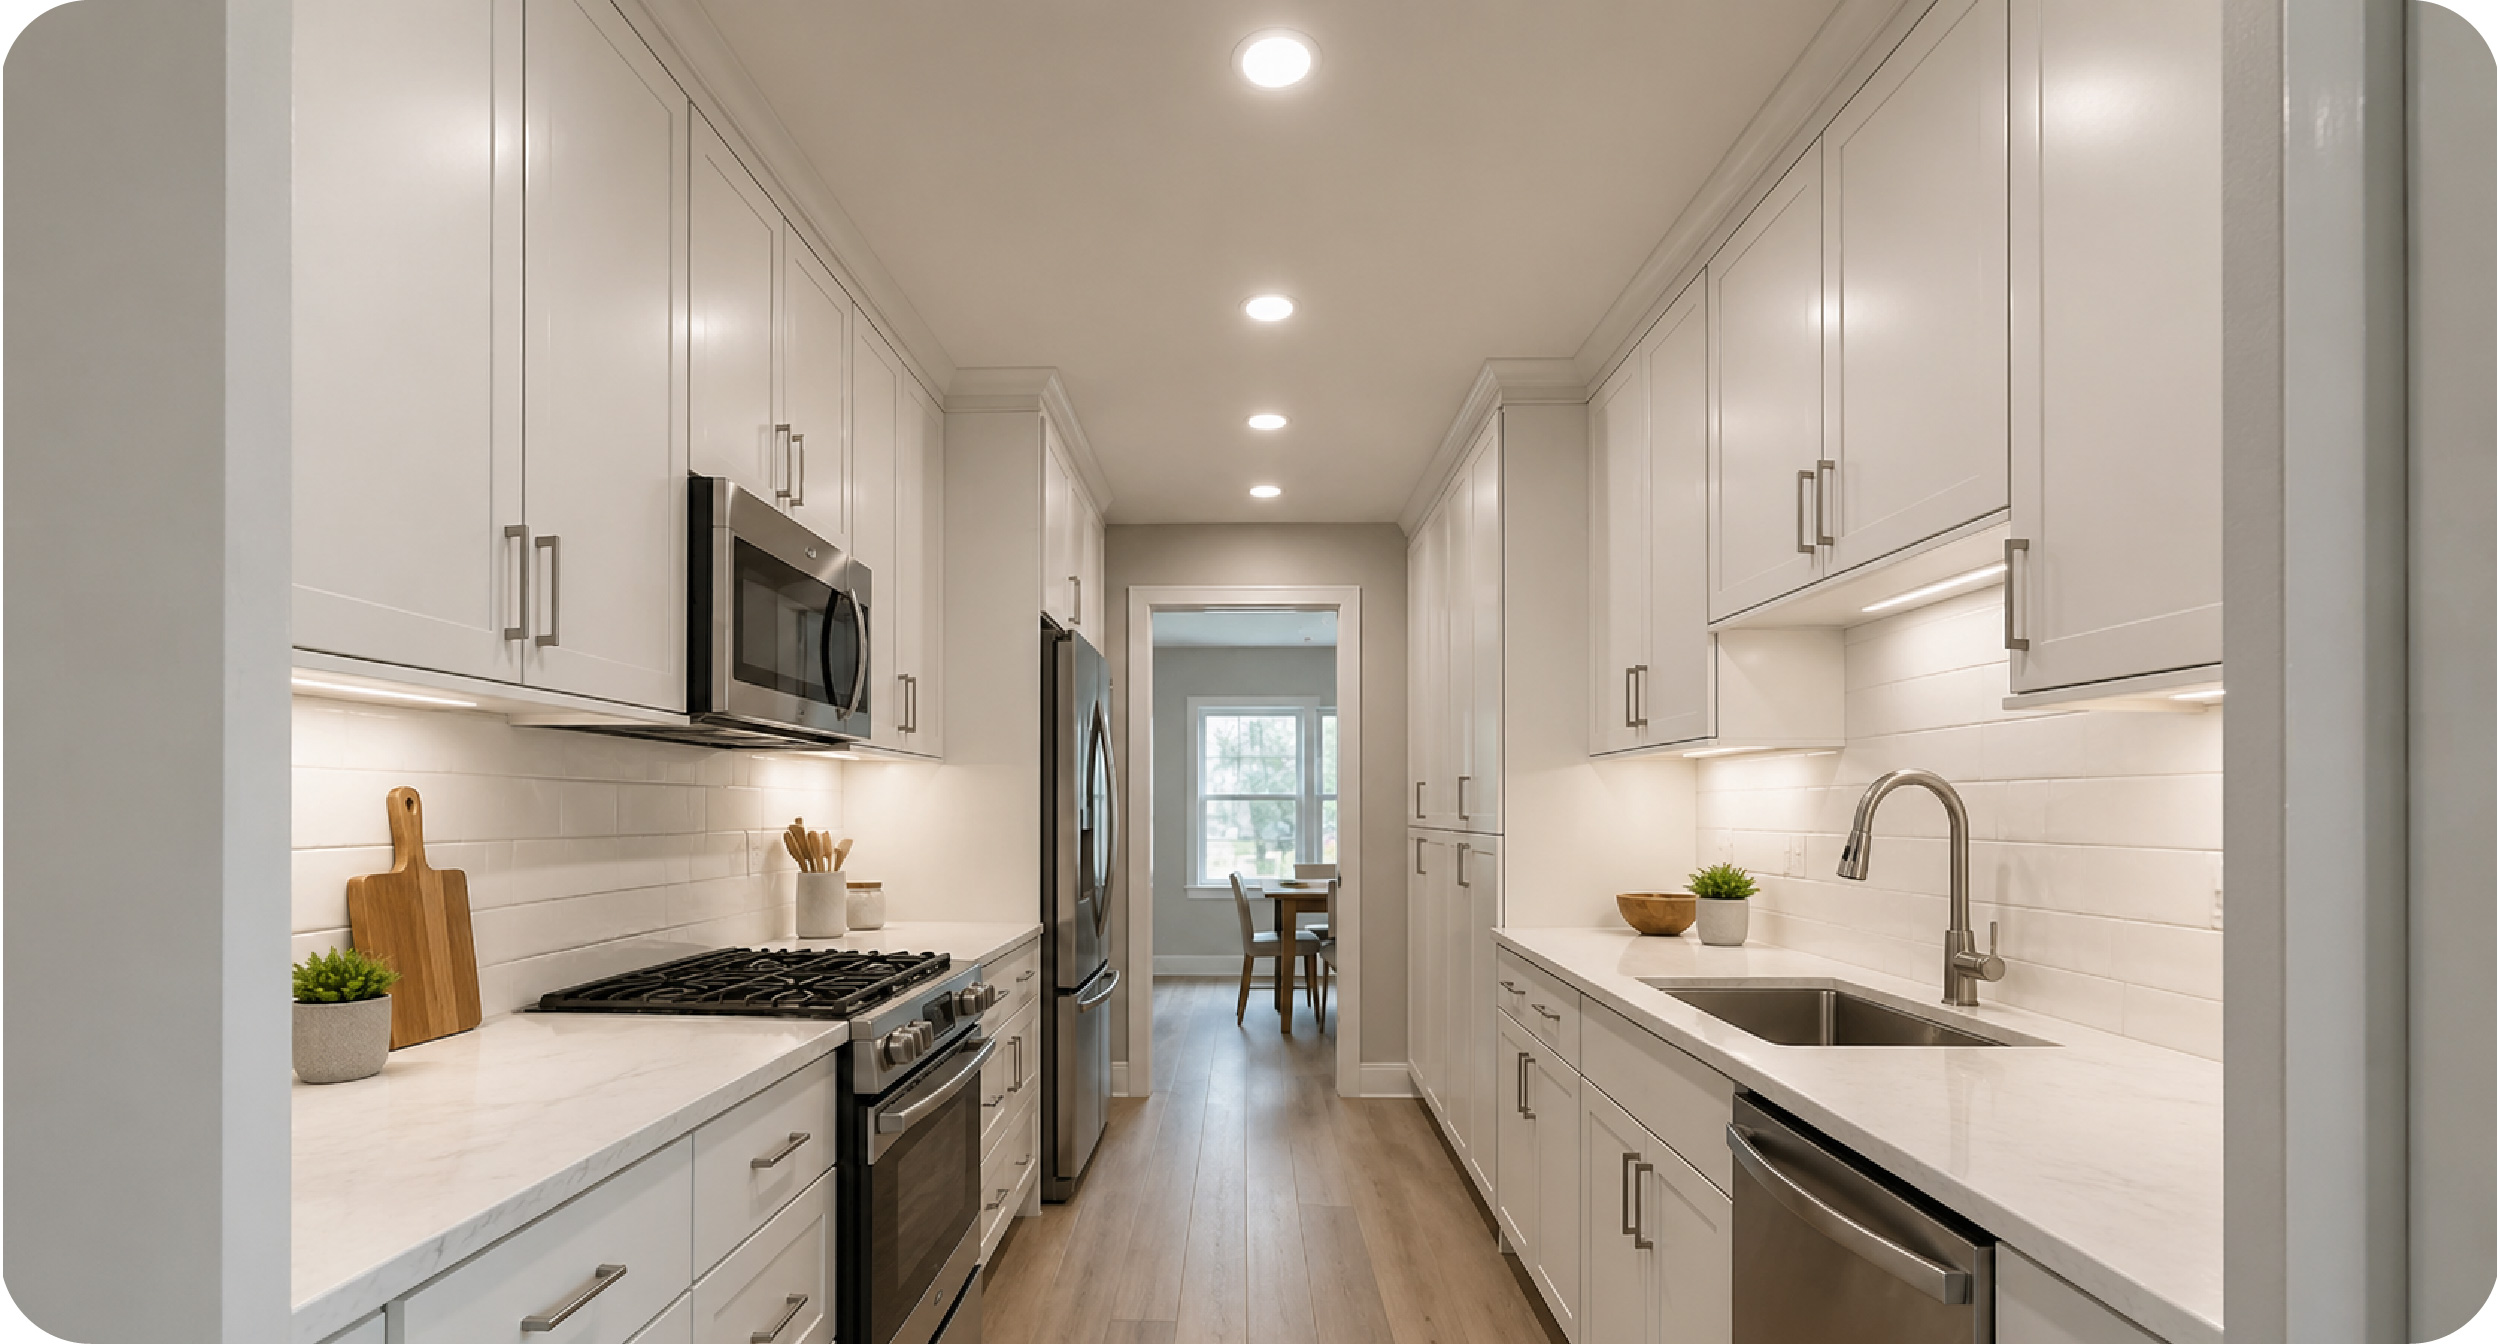
A single row of appropriately spaced downlights typically provides adequate coverage in galley layouts. Calculate spacing based on ceiling height, then verify coverage extends to both counter surfaces. For standard 8-foot ceilings in a galley kitchen, fixtures spaced 5-6 feet apart down the center line illuminate both sides effectively.
Task lighting zones:
Concentrate under cabinet fixture placement over primary work areas: sink, range, and main prep surfaces. These zones benefit from 800-1200 lumens per fixture for adequate task lighting. Secondary areas like pantry access or appliance walls can use 600-800 lumens per fixture.
Fixture specifications for kitchens:
- Size: 4-8″ diameter (larger for higher ceilings)
- Output: 800-1200 lumens per fixture
- Color temperature: 3000K for warm ambient, 3500K for neutral task lighting (personal preference)
- Features: Dimmable, CCT selectable if you want flexibility
Browse new construction downlights or retrofit options to compare output options.
Bathroom Recessed Lighting: Placement and Wet Location Requirements
Bathroom lighting planning must address wet location requirements, vanity coordination, and general ambient coverage. For a small bathroom recessed lighting layout, tighten spacing slightly and select lower lumen packages (or pair lights with a Lutron dimmer) to maintain comfort while achieving even coverage.
Shower and tub placement:
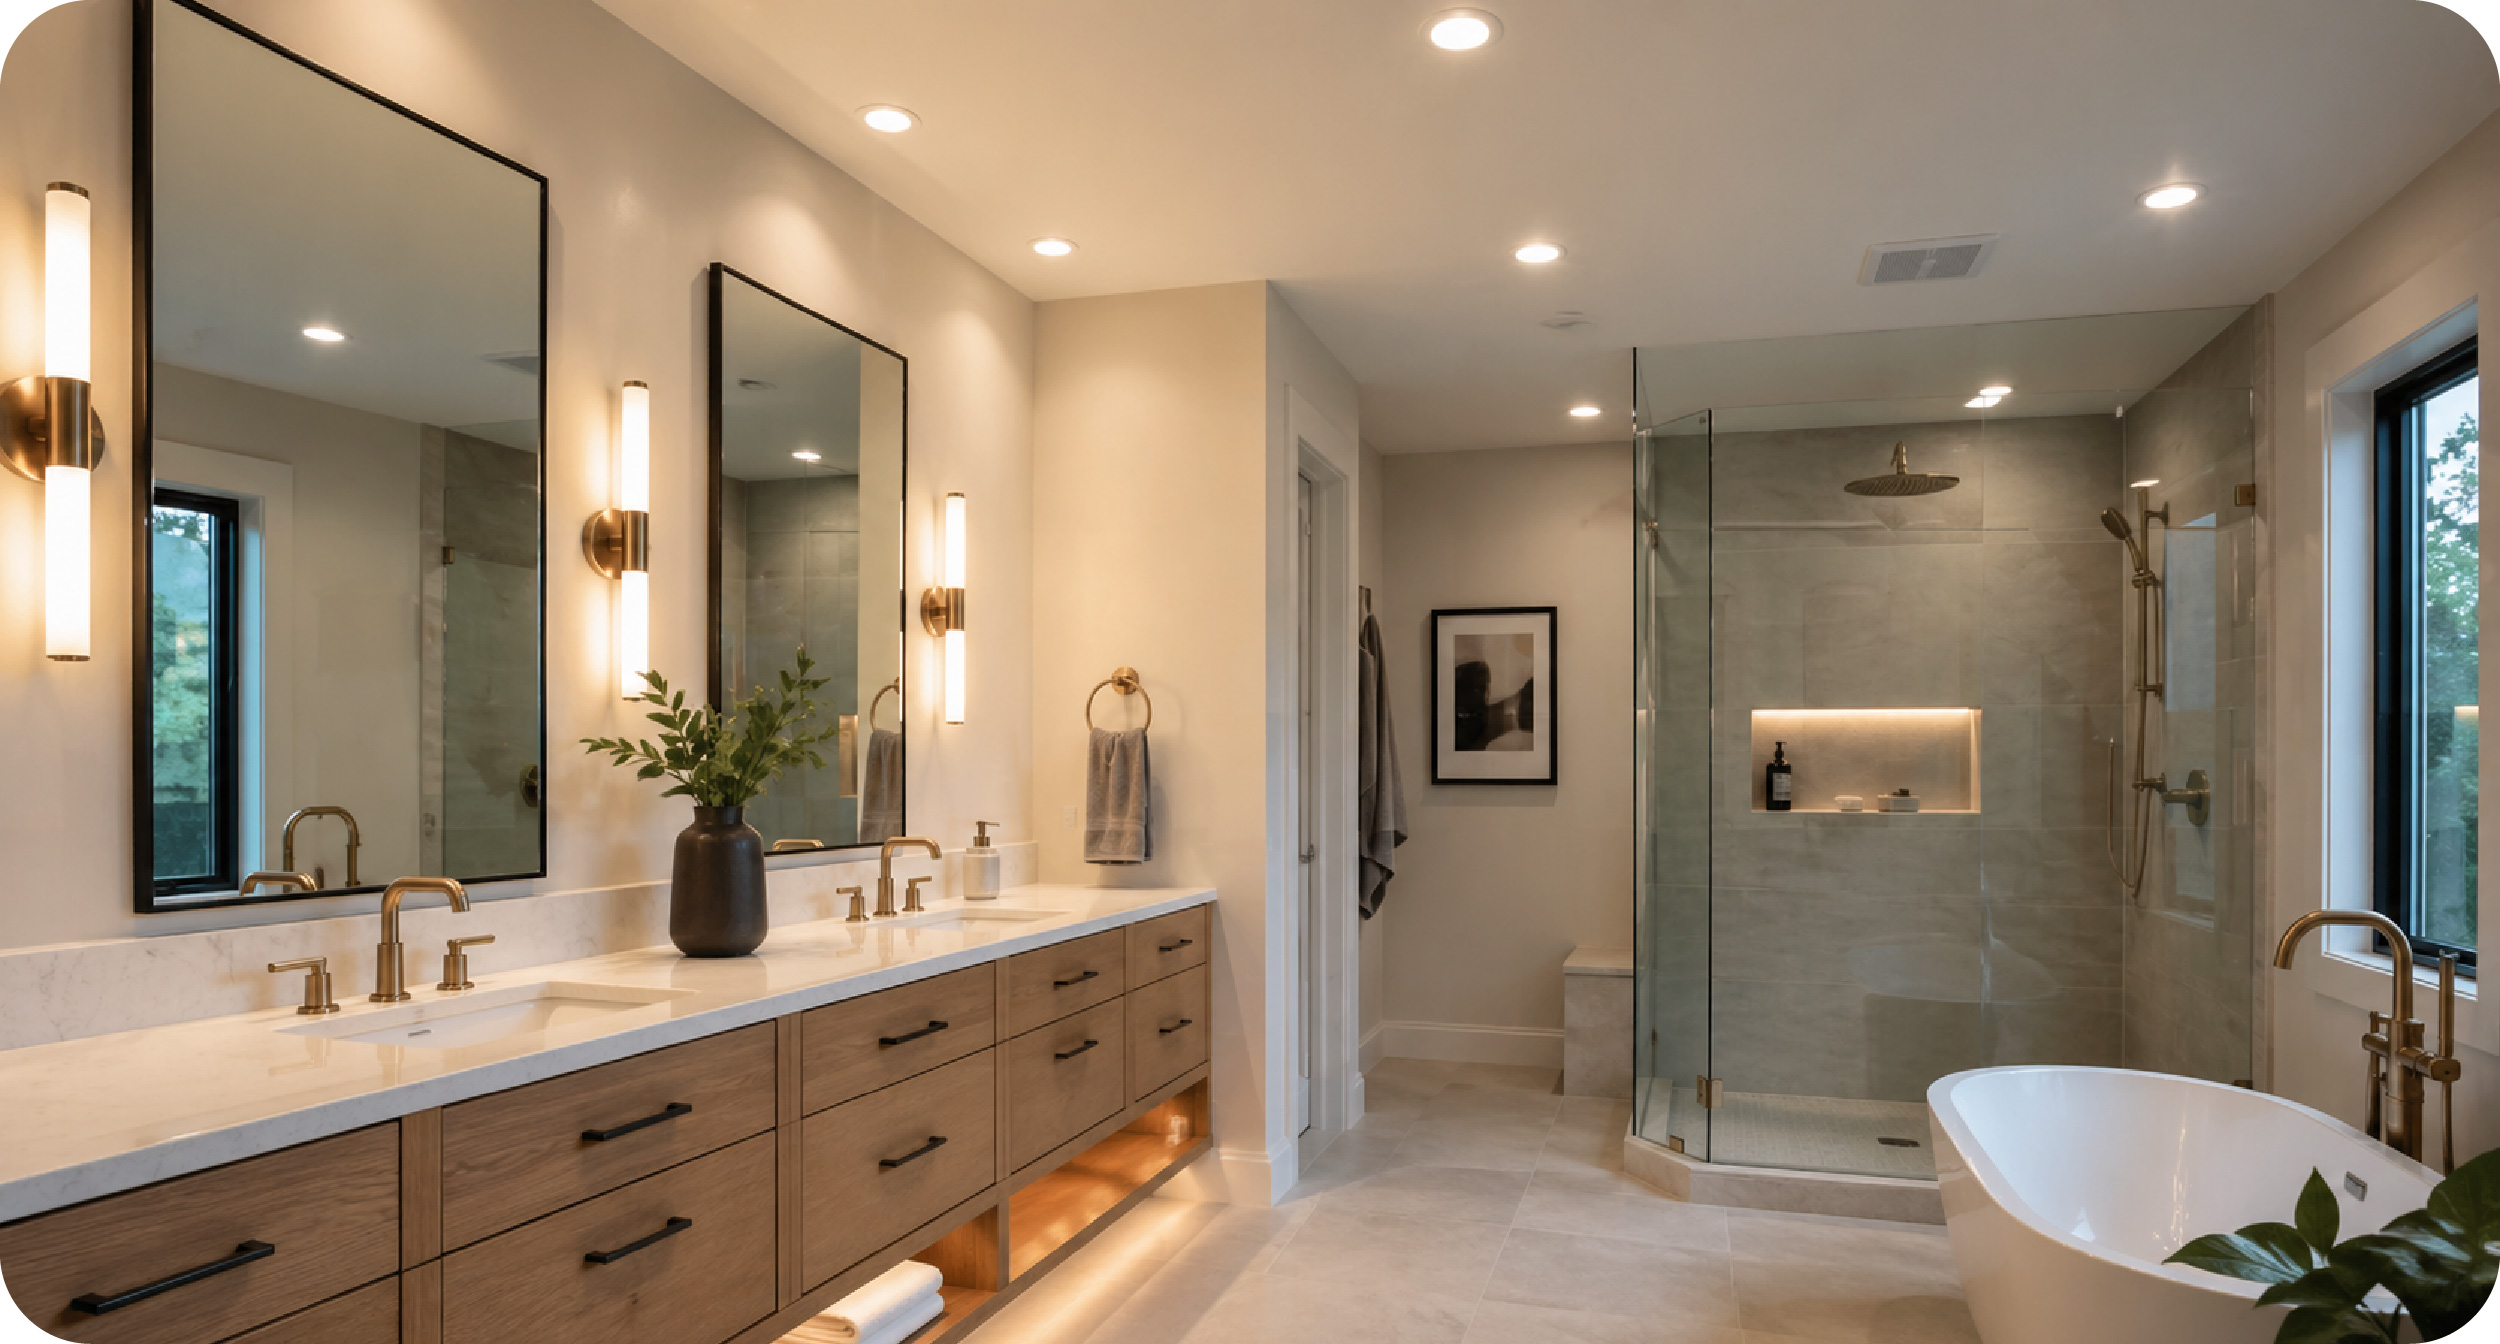
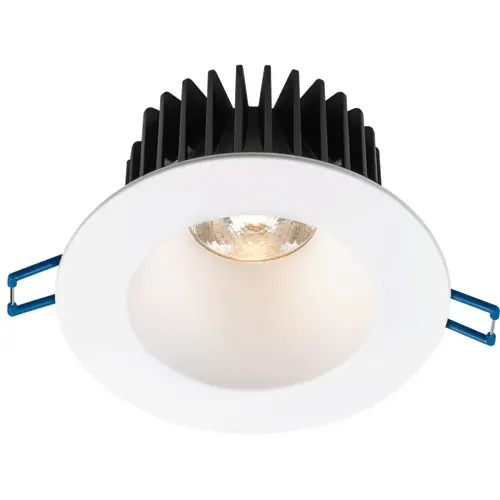
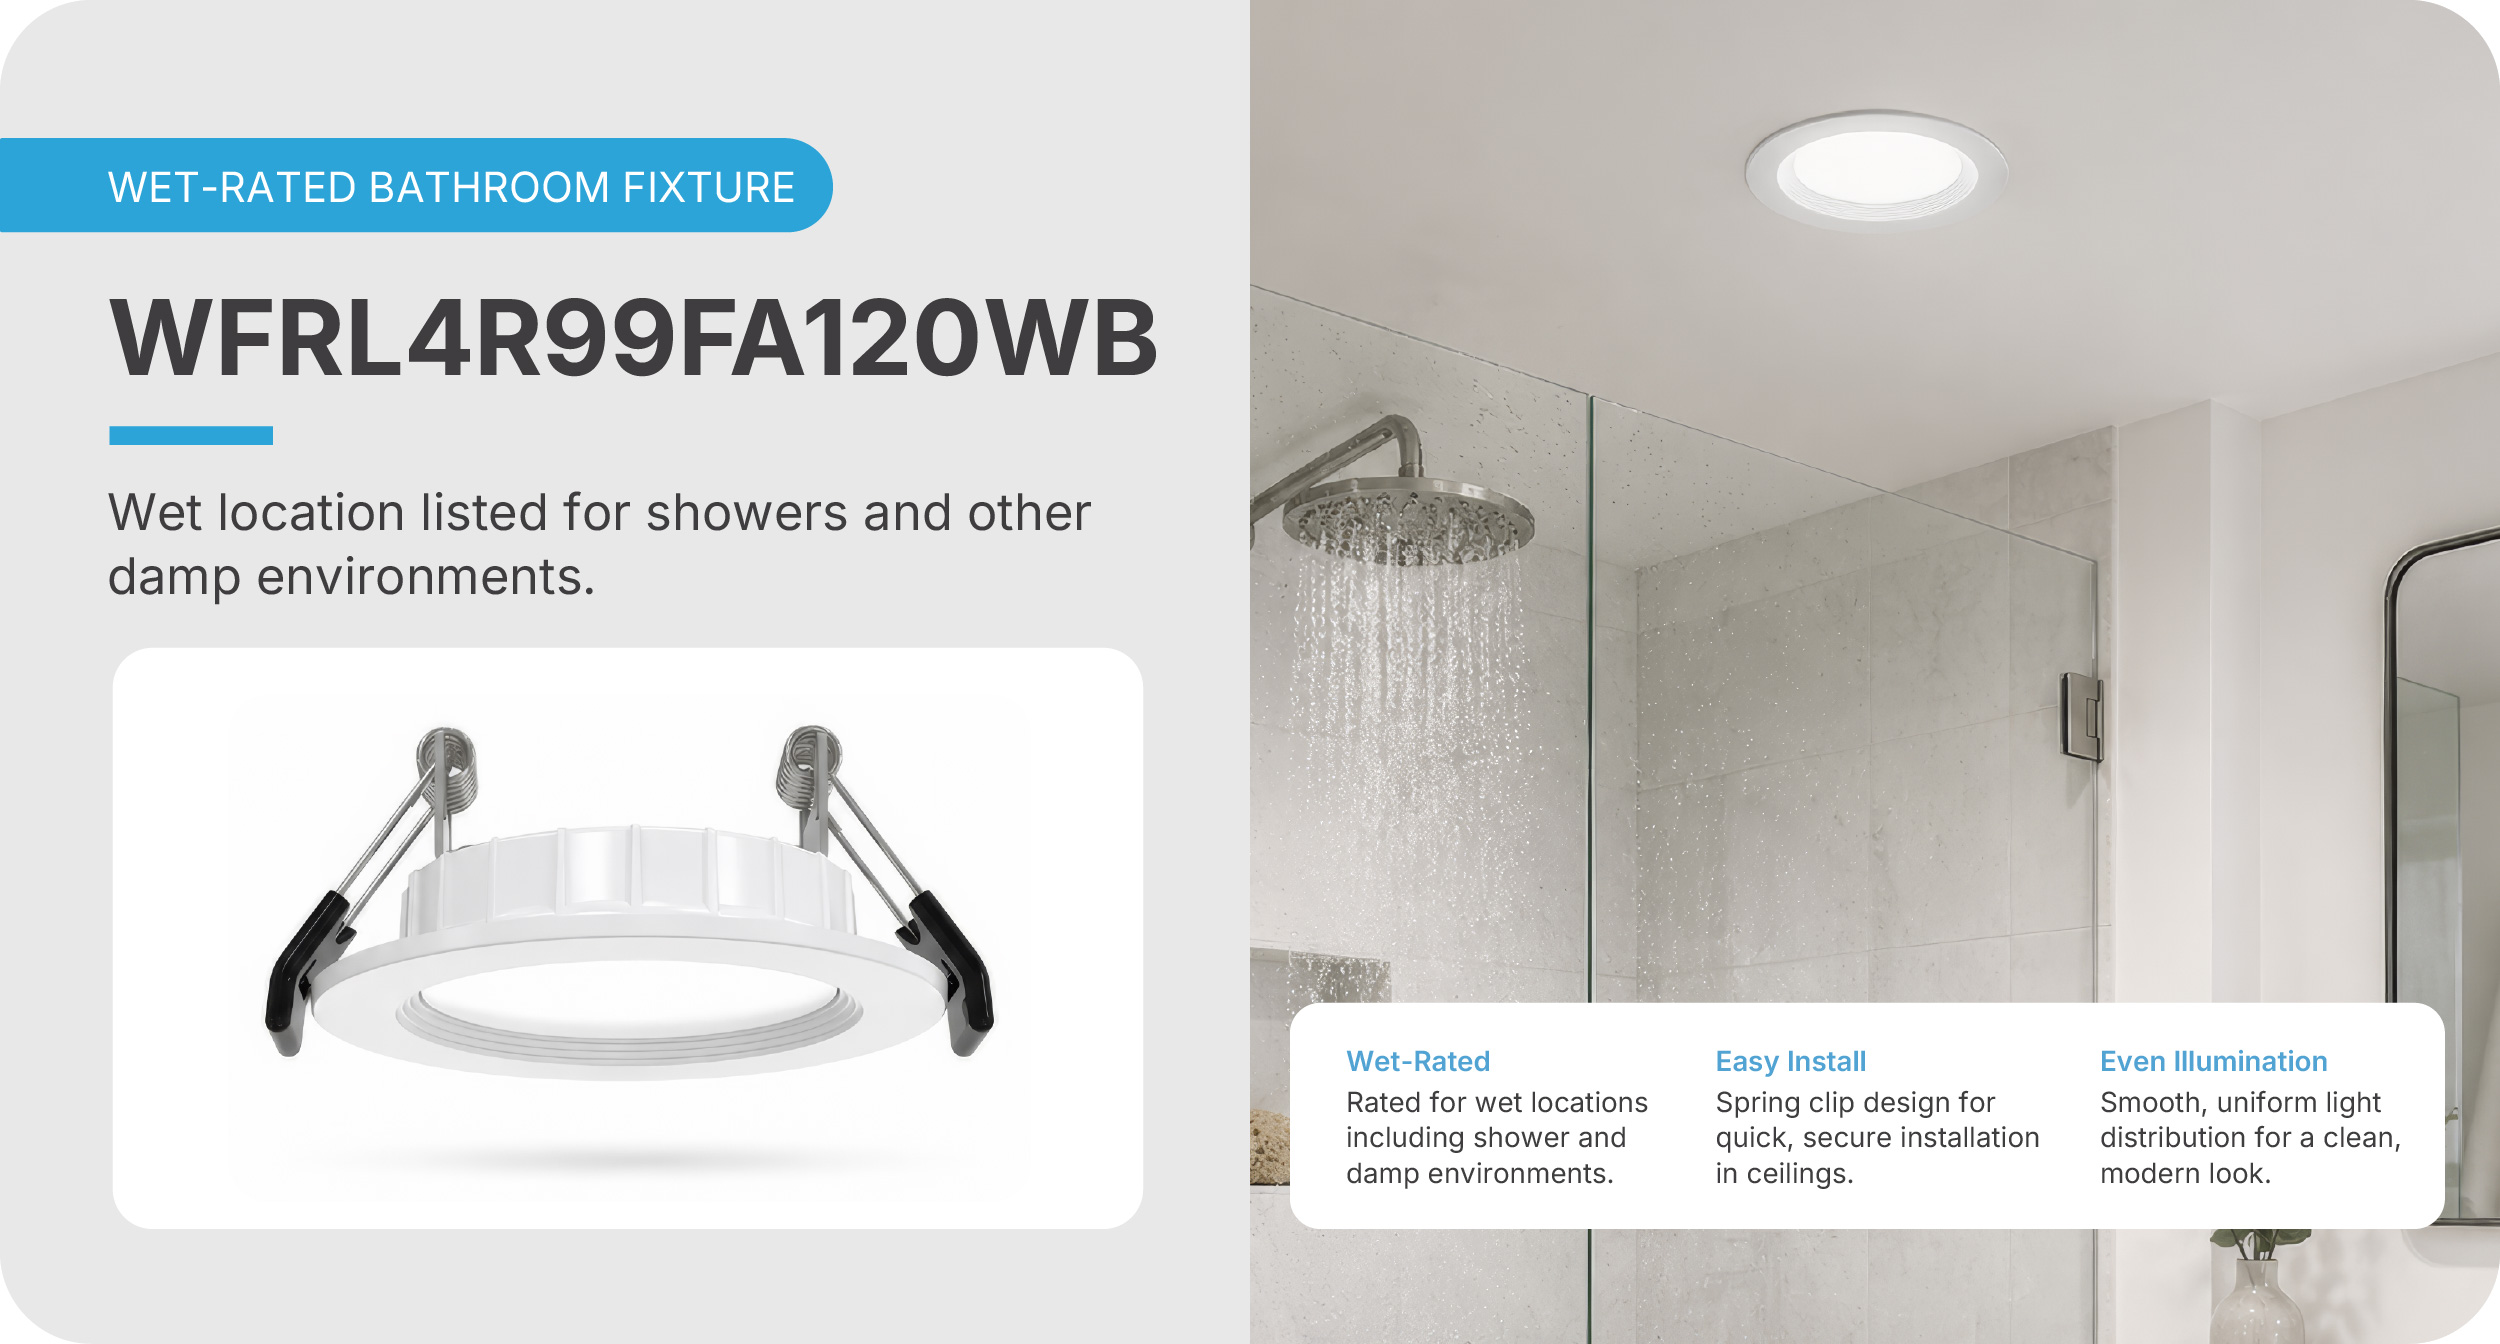
Any fixture installed directly over a shower or tub requires a wet location rating. This is a code requirement in most jurisdictions. Position fixtures to provide adequate light without creating excessive glare when standing under the water.
PRO TIP: Steam showers require steam shower rated fixtures specifically designed for high-moisture environments. Standard wet-rated fixtures do not provide adequate protection.
For shower recessed lighting specifically, look for fixtures with gasket-sealed trim rings that prevent moisture from traveling into the housing cavity. Shower recessed lighting that lacks a proper seal can allow steam and humidity to accumulate in the housing over time.
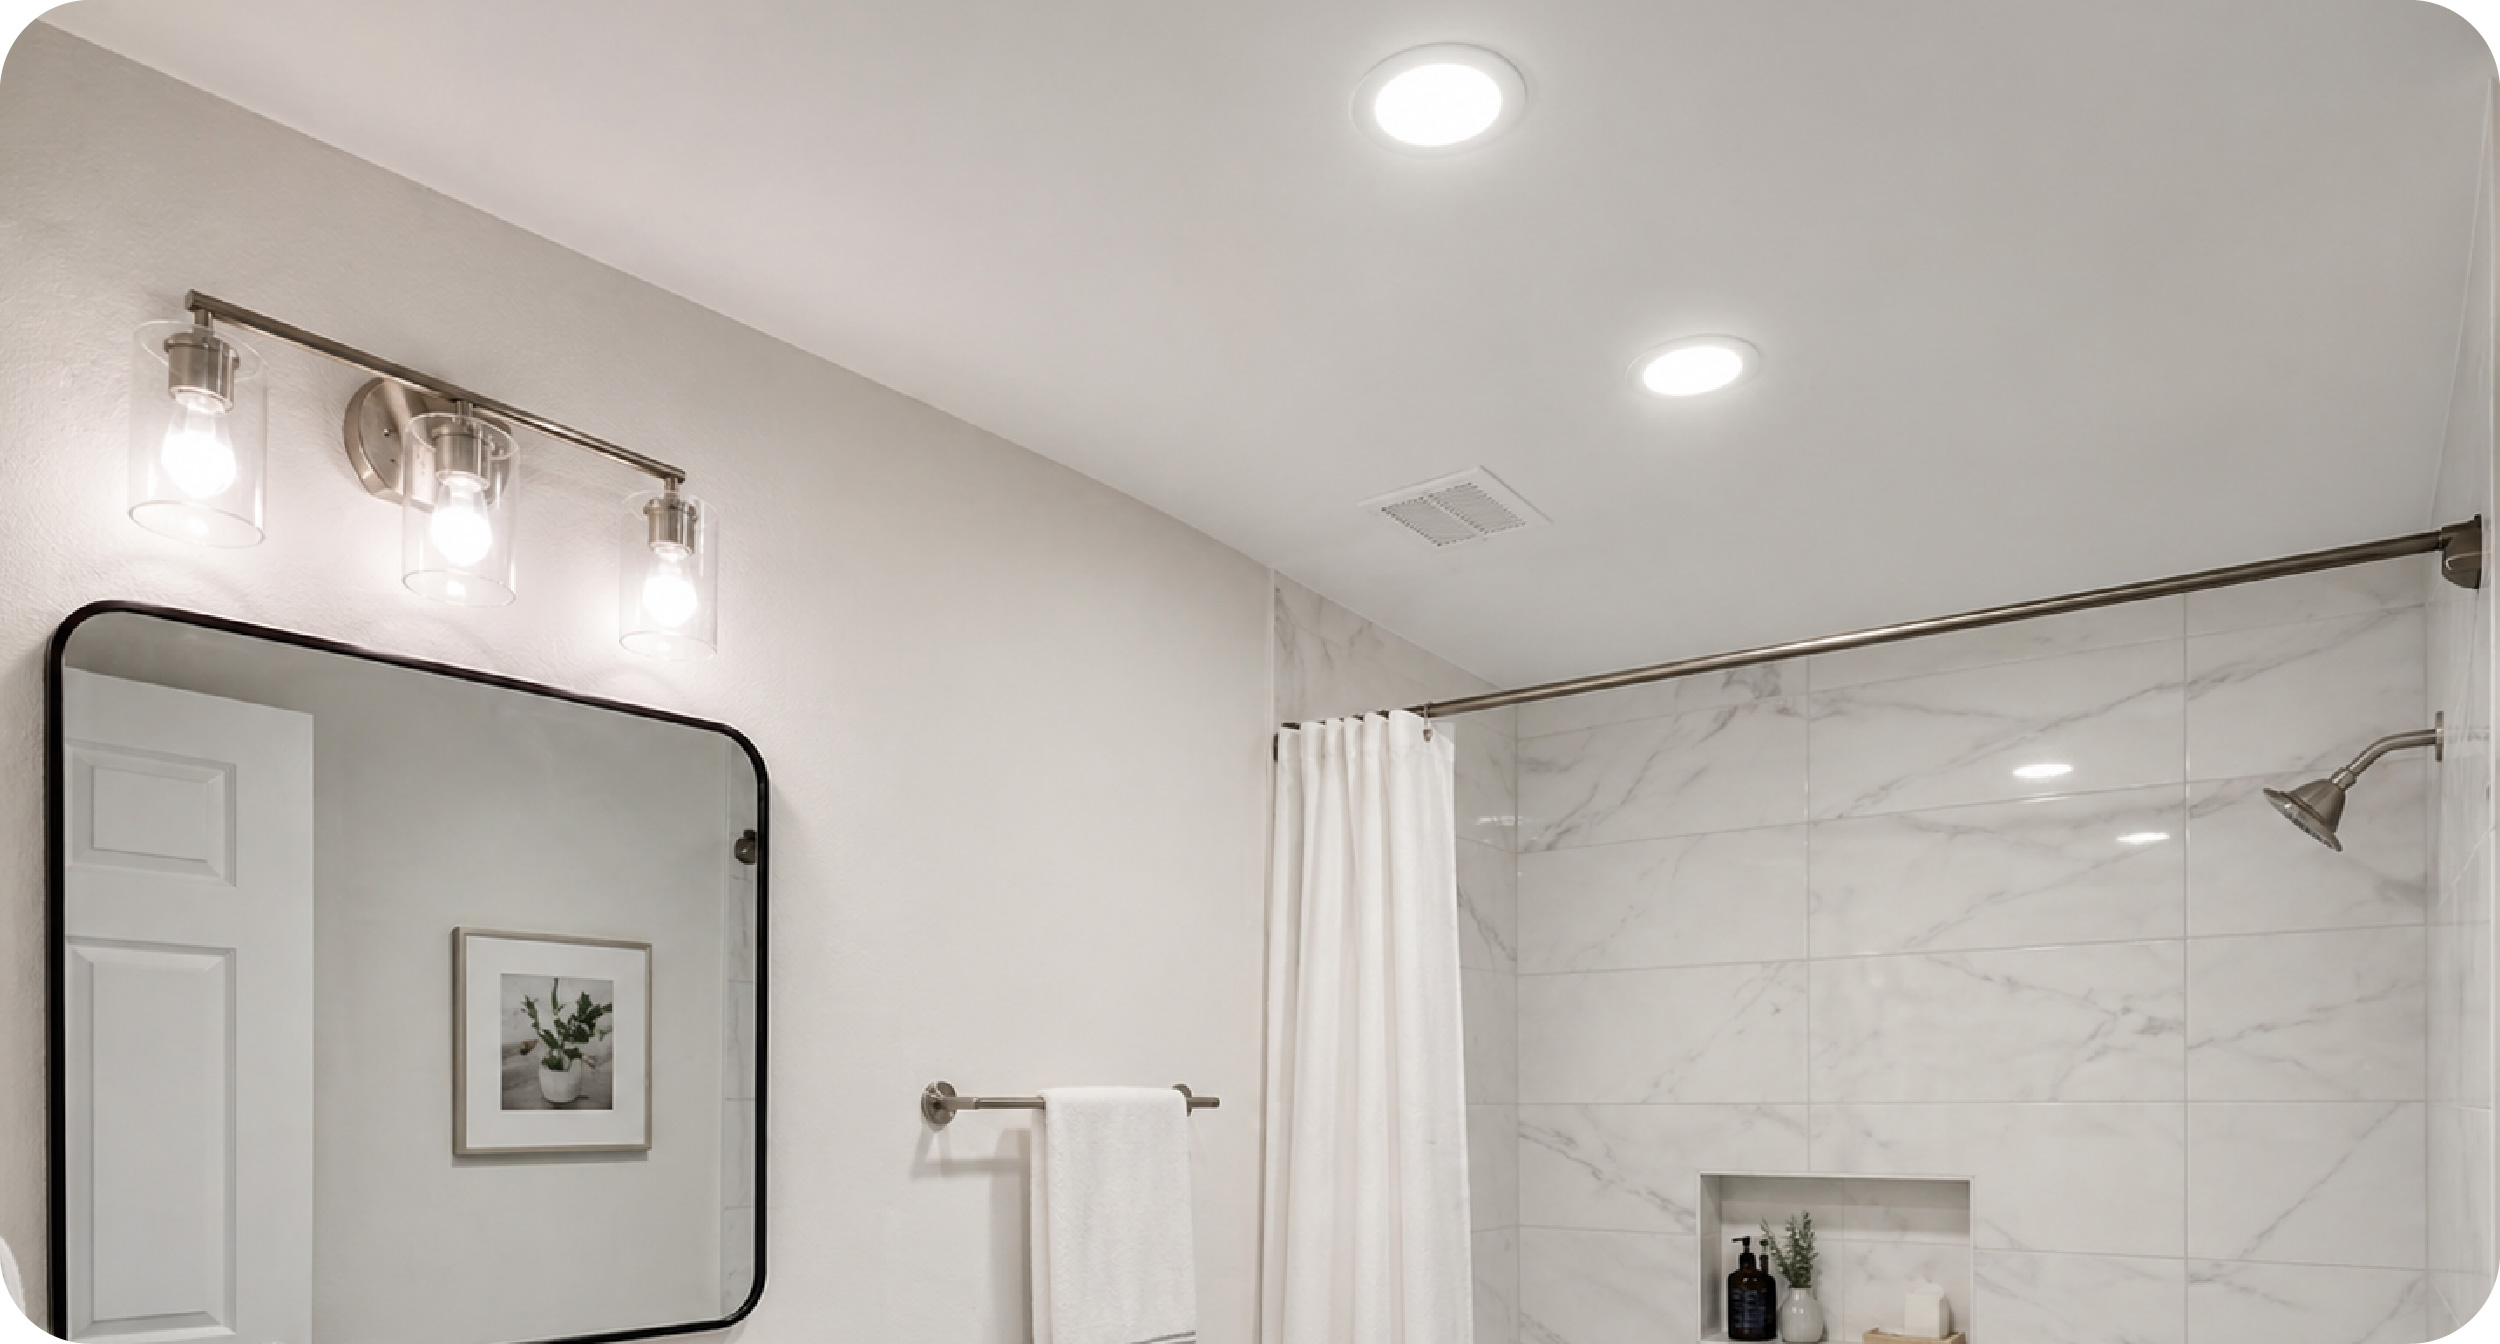
For standard tub-shower combinations, a single 4″ wet-rated downlight centered over the tub/shower area provides sufficient illumination. Larger walk-in showers may require two fixtures depending on size. The RAB 4″ Wafer Downlight with baffle trim works well in damp and wet locations, offering CCT selectability to easily match the rest of the bathroom.
Vanity lighting coordination:
Recessed downlights supplement but don’t replace vanity lighting. Position recessed fixtures 24-36 inches away from the vanity mirror when wall sconces handle task lighting. This provides adequate general light without interfering with face lighting or creating shadows under the chin and nose.
Fixture specifications for bathrooms:
- Size: 4″ diameter for standard bathrooms, 3″ for compact spaces
- Output: 600-900 lumens per fixture
- Color temperature: 3000K or 3500K (personal preference based on desired ambiance)
- Required: Wet or damp location rating depending on placement
- Features: Dimmable for flexibility between task and ambient lighting
For bathrooms, wet location rated fixtures are non-negotiable over showers and tubs. Damp location ratings work in the general bathroom space. See our selection of wet location rated downlights or browse shower trim options.
Living Room Recessed Lighting and Bedroom Layout Strategies
Living spaces require different approaches than task-oriented rooms. The goal shifts from work surface illumination to creating ambient light that can adjust for different activities and times of day.
Ambient vs. accent lighting:
Recessed lighting in the living room creates the ambient base layer that other fixtures build on. When planned correctly, a recessed lighting living room layout eliminates the need for a central overhead fixture entirely. General ambient recessed lighting in the living room comes from evenly spaced downlights following the 70% rule. For a living room with 9-foot ceilings, spacing fixtures 6 feet apart in a grid pattern provides even coverage. 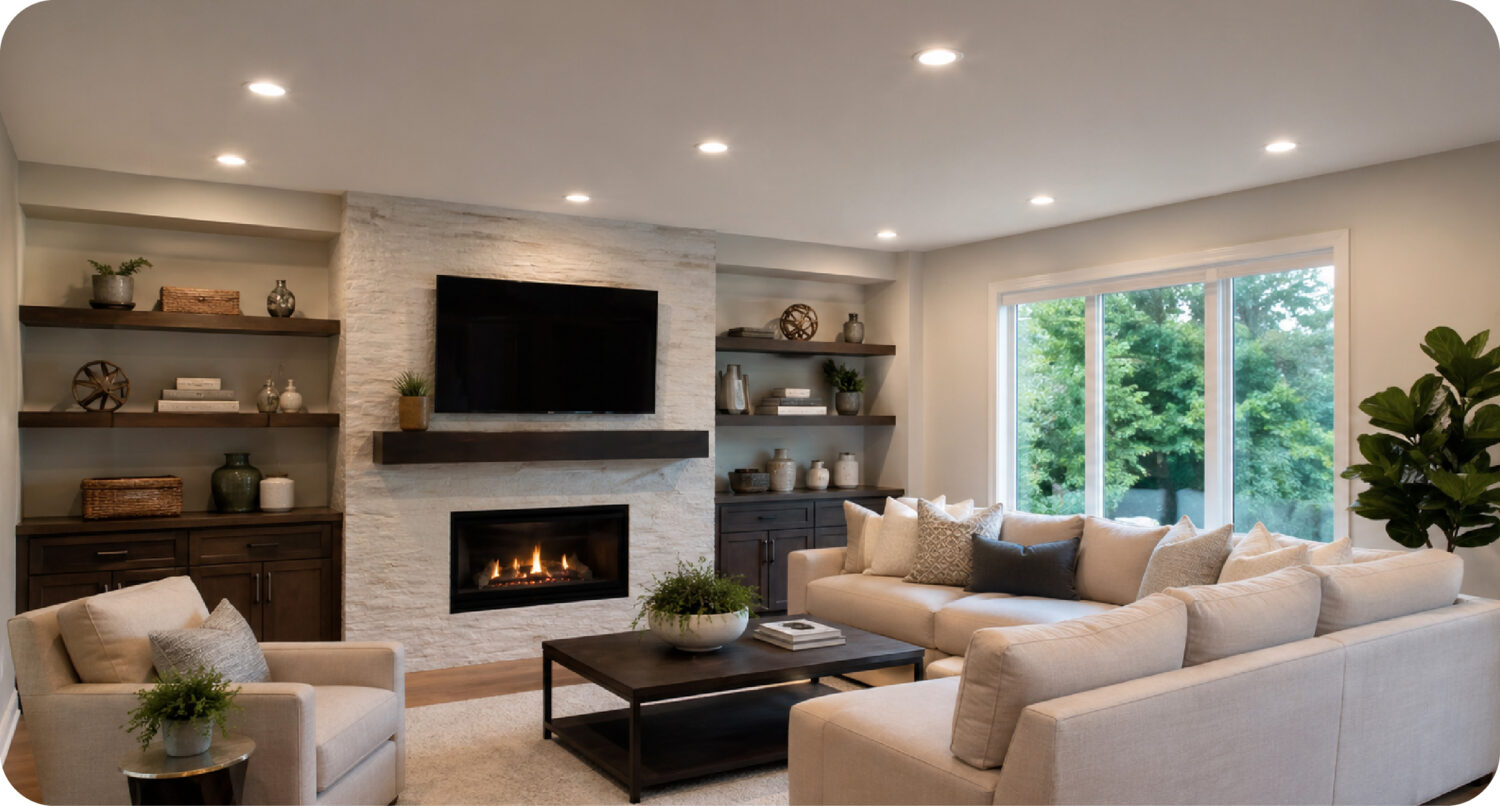
Avoiding the spotlight effect:
Fixtures placed too close to walls create bright spots that draw attention and make the space feel smaller. For 9-foot ceilings, position fixtures at least 3 feet from walls to wash the surface with light rather than creating focused spots.
Dimming importance:
Living spaces benefit significantly from dimming capability. Dimmable recessed lighting lets the space serve multiple purposes throughout the day. Fixtures that work well for reading or detailed tasks become too bright for watching TV or creating evening ambiance.
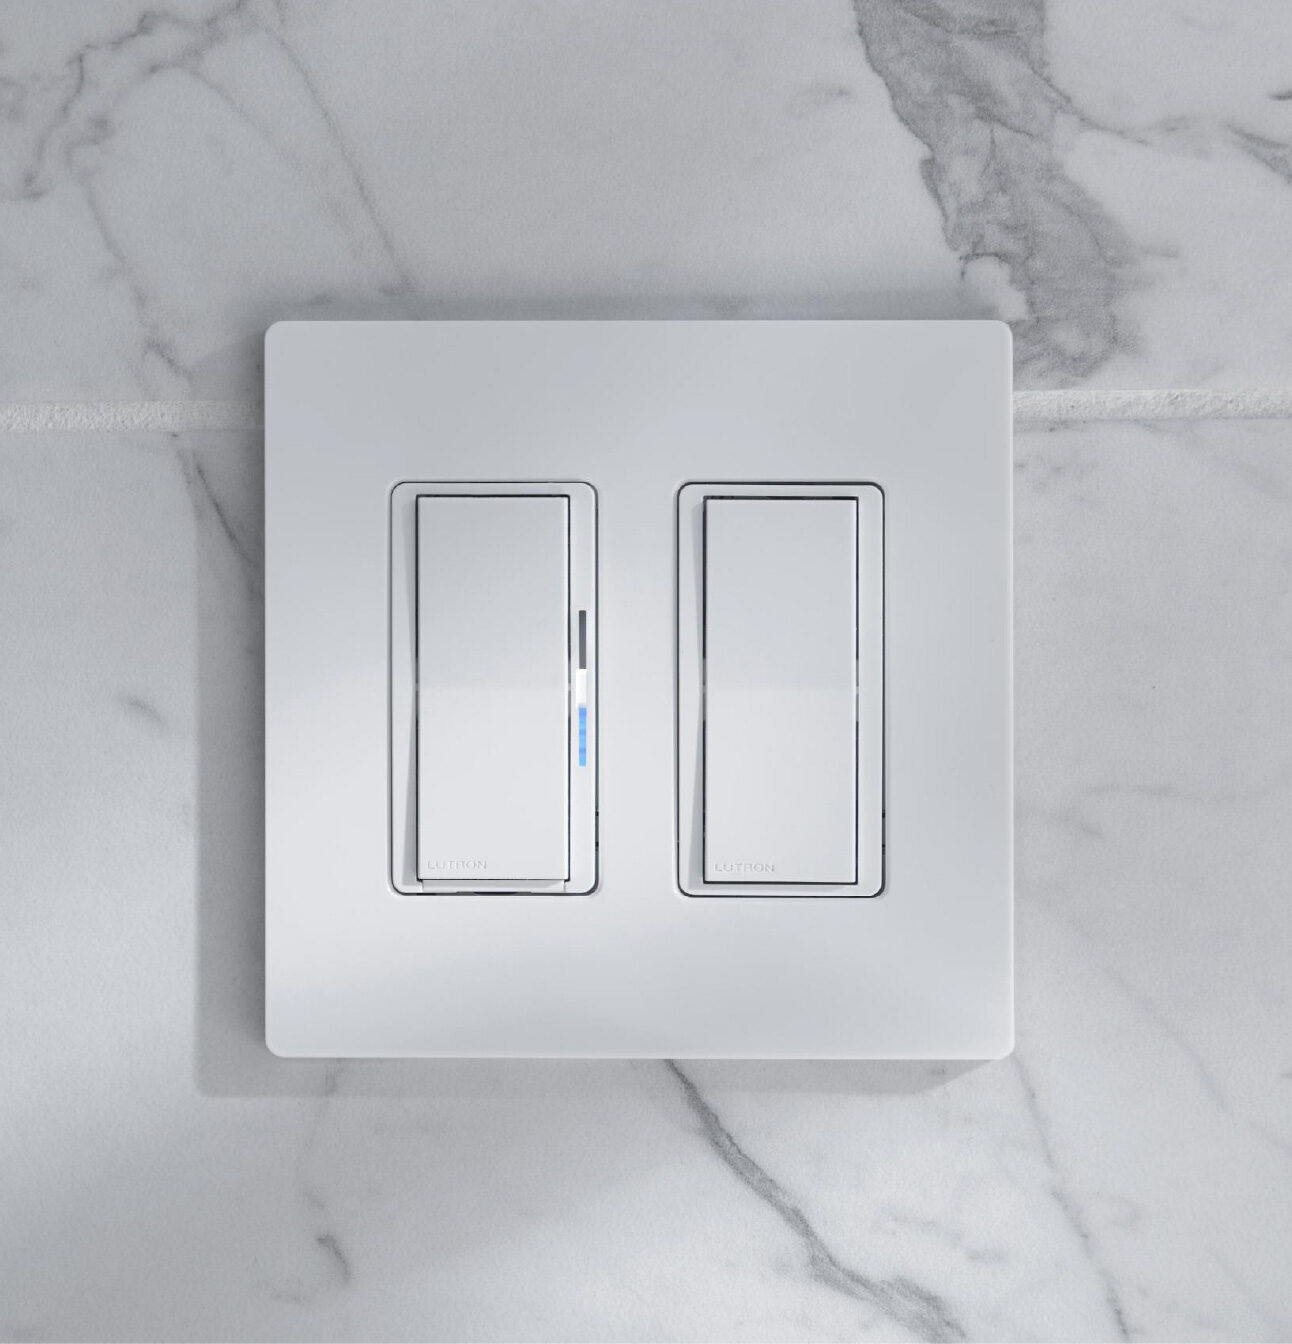
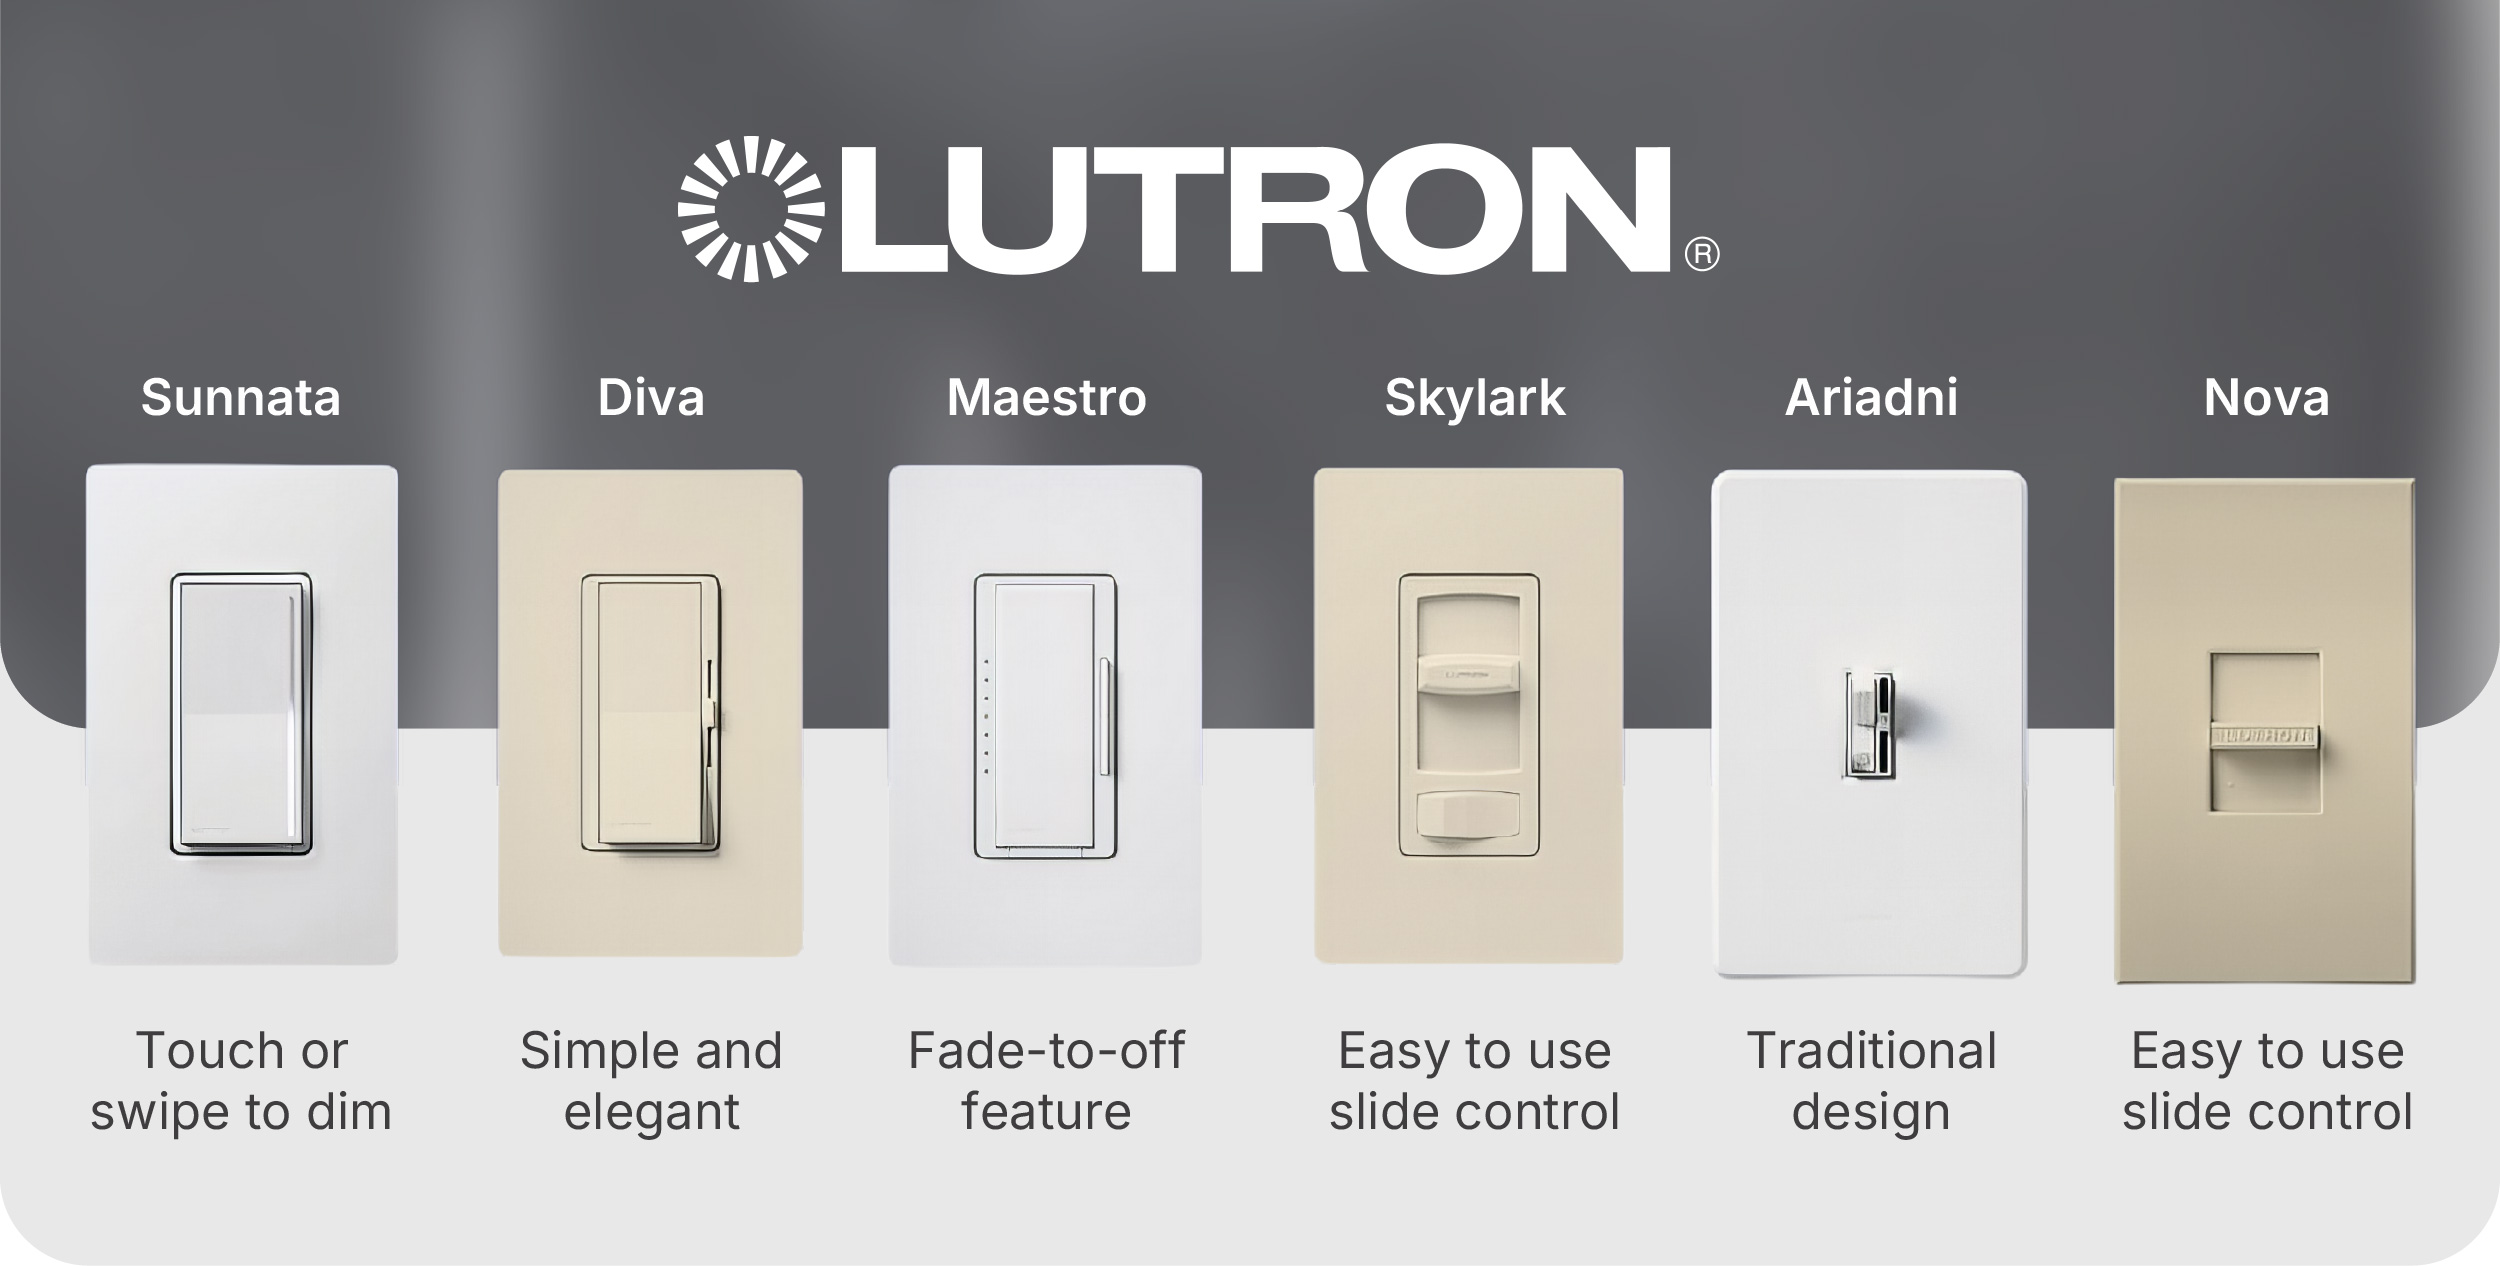
Most LED recessed downlights work with TRIAC/forward phase dimmers common in residential applications. Verify dimmer compatibility before purchasing to avoid flickering or limited dimming range issues. Lutron LED+ Diva dimmers offer the widest compatibility with LED fixtures and deliver superior dimming performance compared to generic options.
Bedroom-specific considerations:
Bedrooms require lower light levels than living rooms for comfortable evening use. Plan for 600-800 lumens per fixture rather than the 800-1000 lumens used in living areas.
Position fixtures to avoid direct overhead placement above the bed. Offsetting fixture placement by 2-3 feet from the head of the bed maintains adequate coverage without creating discomfort.
Fixture specifications for living spaces:
- Size: 4-6″ diameter depending on ceiling height
- Output: Living rooms 800-1000 lumens, bedrooms 600-800 lumens per fixture
- Color temperature: 2700K for warm evening ambiance, 3500K for cooler daytime light (based on preference)
- Features: Dimmable (essential), CCT selectable (beneficial for flexibility)
Whether you’re planning recessed lighting, living room renovations or a new bedroom build, these output ranges give you a reliable starting point before selecting specific fixtures.
Outdoor Recessed Lighting Applications
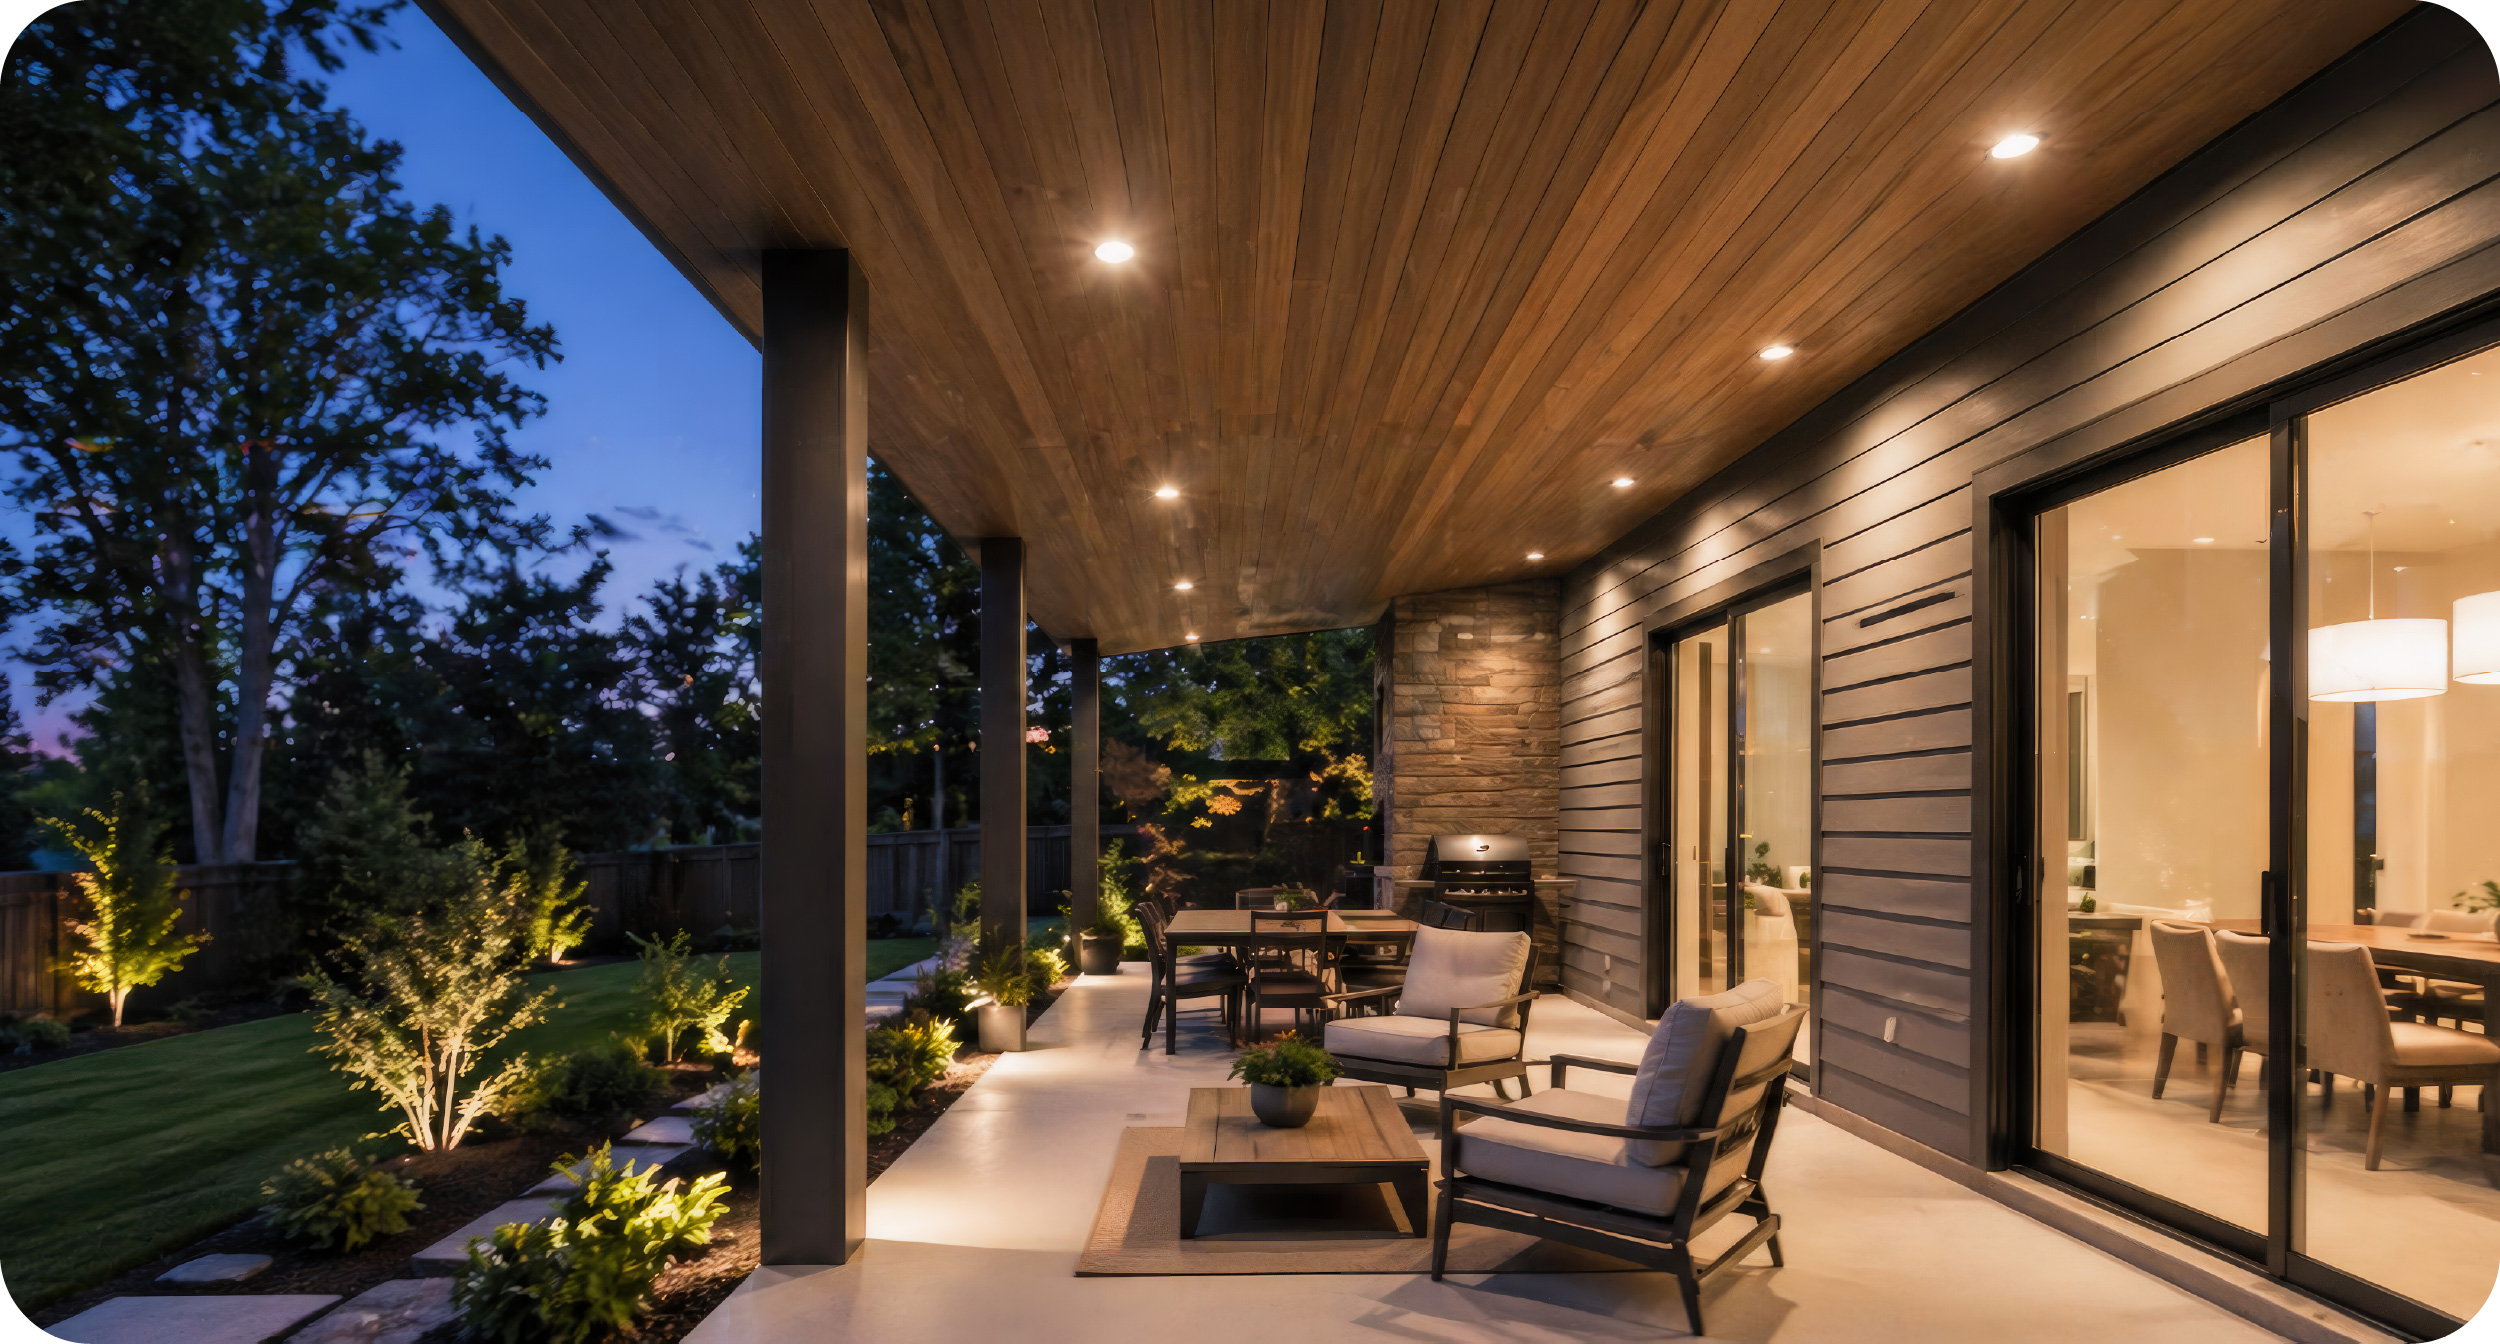
Outdoor recessed lighting planning follows the same spacing principles as interior applications, but fixture specifications become critical. For outdoor installations, wet location rated fixtures are the safer choice even when damp-rated fixtures might technically meet code requirements.
PRO TIP: Always use wet location rated fixtures for outdoor applications. Even covered areas can experience wind-driven rain, and wet-rated fixtures eliminate guesswork about adequate protection levels.
Soffit and porch coverage:
Covered porches and soffits might qualify as damp locations under code being protected from direct water but exposed to moisture. However, weather conditions vary, and what’s protected today might not be during a storm with heavy winds. For soffits with 8-foot clearance from the ground, space fixtures 5-6 feet apart following the 70% rule to maintain even coverage along the building perimeter.
The extra cost of wet location rated fixtures over damp-rated options is minimal compared to the expense of replacing corroded fixtures or dealing with moisture intrusion issues. Wet location fixtures provide peace of mind in all weather conditions.
When wet location rating is required:
Any location with potential direct water exposure requires wet location rating. This includes:
- Soffits on covered patios in areas with strong winds
- Any installation where rain can blow under roof overhangs
- Coastal areas with salt spray and extreme weather (look for coastal rated fixtures)
Wet location fixtures use sealed housings and gaskets to prevent moisture intrusion, offering superior protection compared to damp-rated alternatives.
Spacing for outdoor applications:
Outdoor spaces typically require less precise spacing than interior rooms. Variation in fixture placement to avoid structural elements or match architectural features won’t create the same visual issues as indoors. Position fixtures near doors, at the top of steps, and over seating zones to concentrate light where needed.
Fixture specifications for outdoor use:
- Size: 4-6″ diameter most common
- Output: 700-1000 lumens per fixture
- Color temperature: 3000K provides warm welcoming light, 4000K for security applications
- Rating: Wet location rated (recommended for all outdoor applications)
- Features: CCT selectable options allow adjustment based on actual conditions
View our selection of outdoor wet location rated downlights for reliable outdoor performance.
Recessed Lighting for Vaulted and Sloped Ceilings
Standard recessed downlights point straight down. That works until you’re dealing with a vaulted ceiling, an accent wall, or when you need to direct light at specific angles rather than straight at the floor. Fixtures designed for angled applications handle all of this.
Sloped ceiling recessed lighting requires either adjustable housings that tilt to keep the fixture level, or gimbal trim that allows the bulb to rotate independently of the housing. For vaulted ceiling recessed lighting, the slope angle determines which solution works best. Both sloped ceiling recessed lighting and vaulted ceiling recessed lighting follow the same principle: match the fixture type to the degree of slope.
- Slopes up to 25°: Standard fixtures with sloped ceiling adapters often work
- Slopes 25-45°: Adjustable housing or deep gimbal trim required
- Slopes over 45°: Consult manufacturer specifications for approved applications
Spacing calculations remain the same. Apply the 70% rule using the ceiling height at the midpoint of the room rather than the peak or eave. This gives you a practical average that produces even coverage across the full slope.
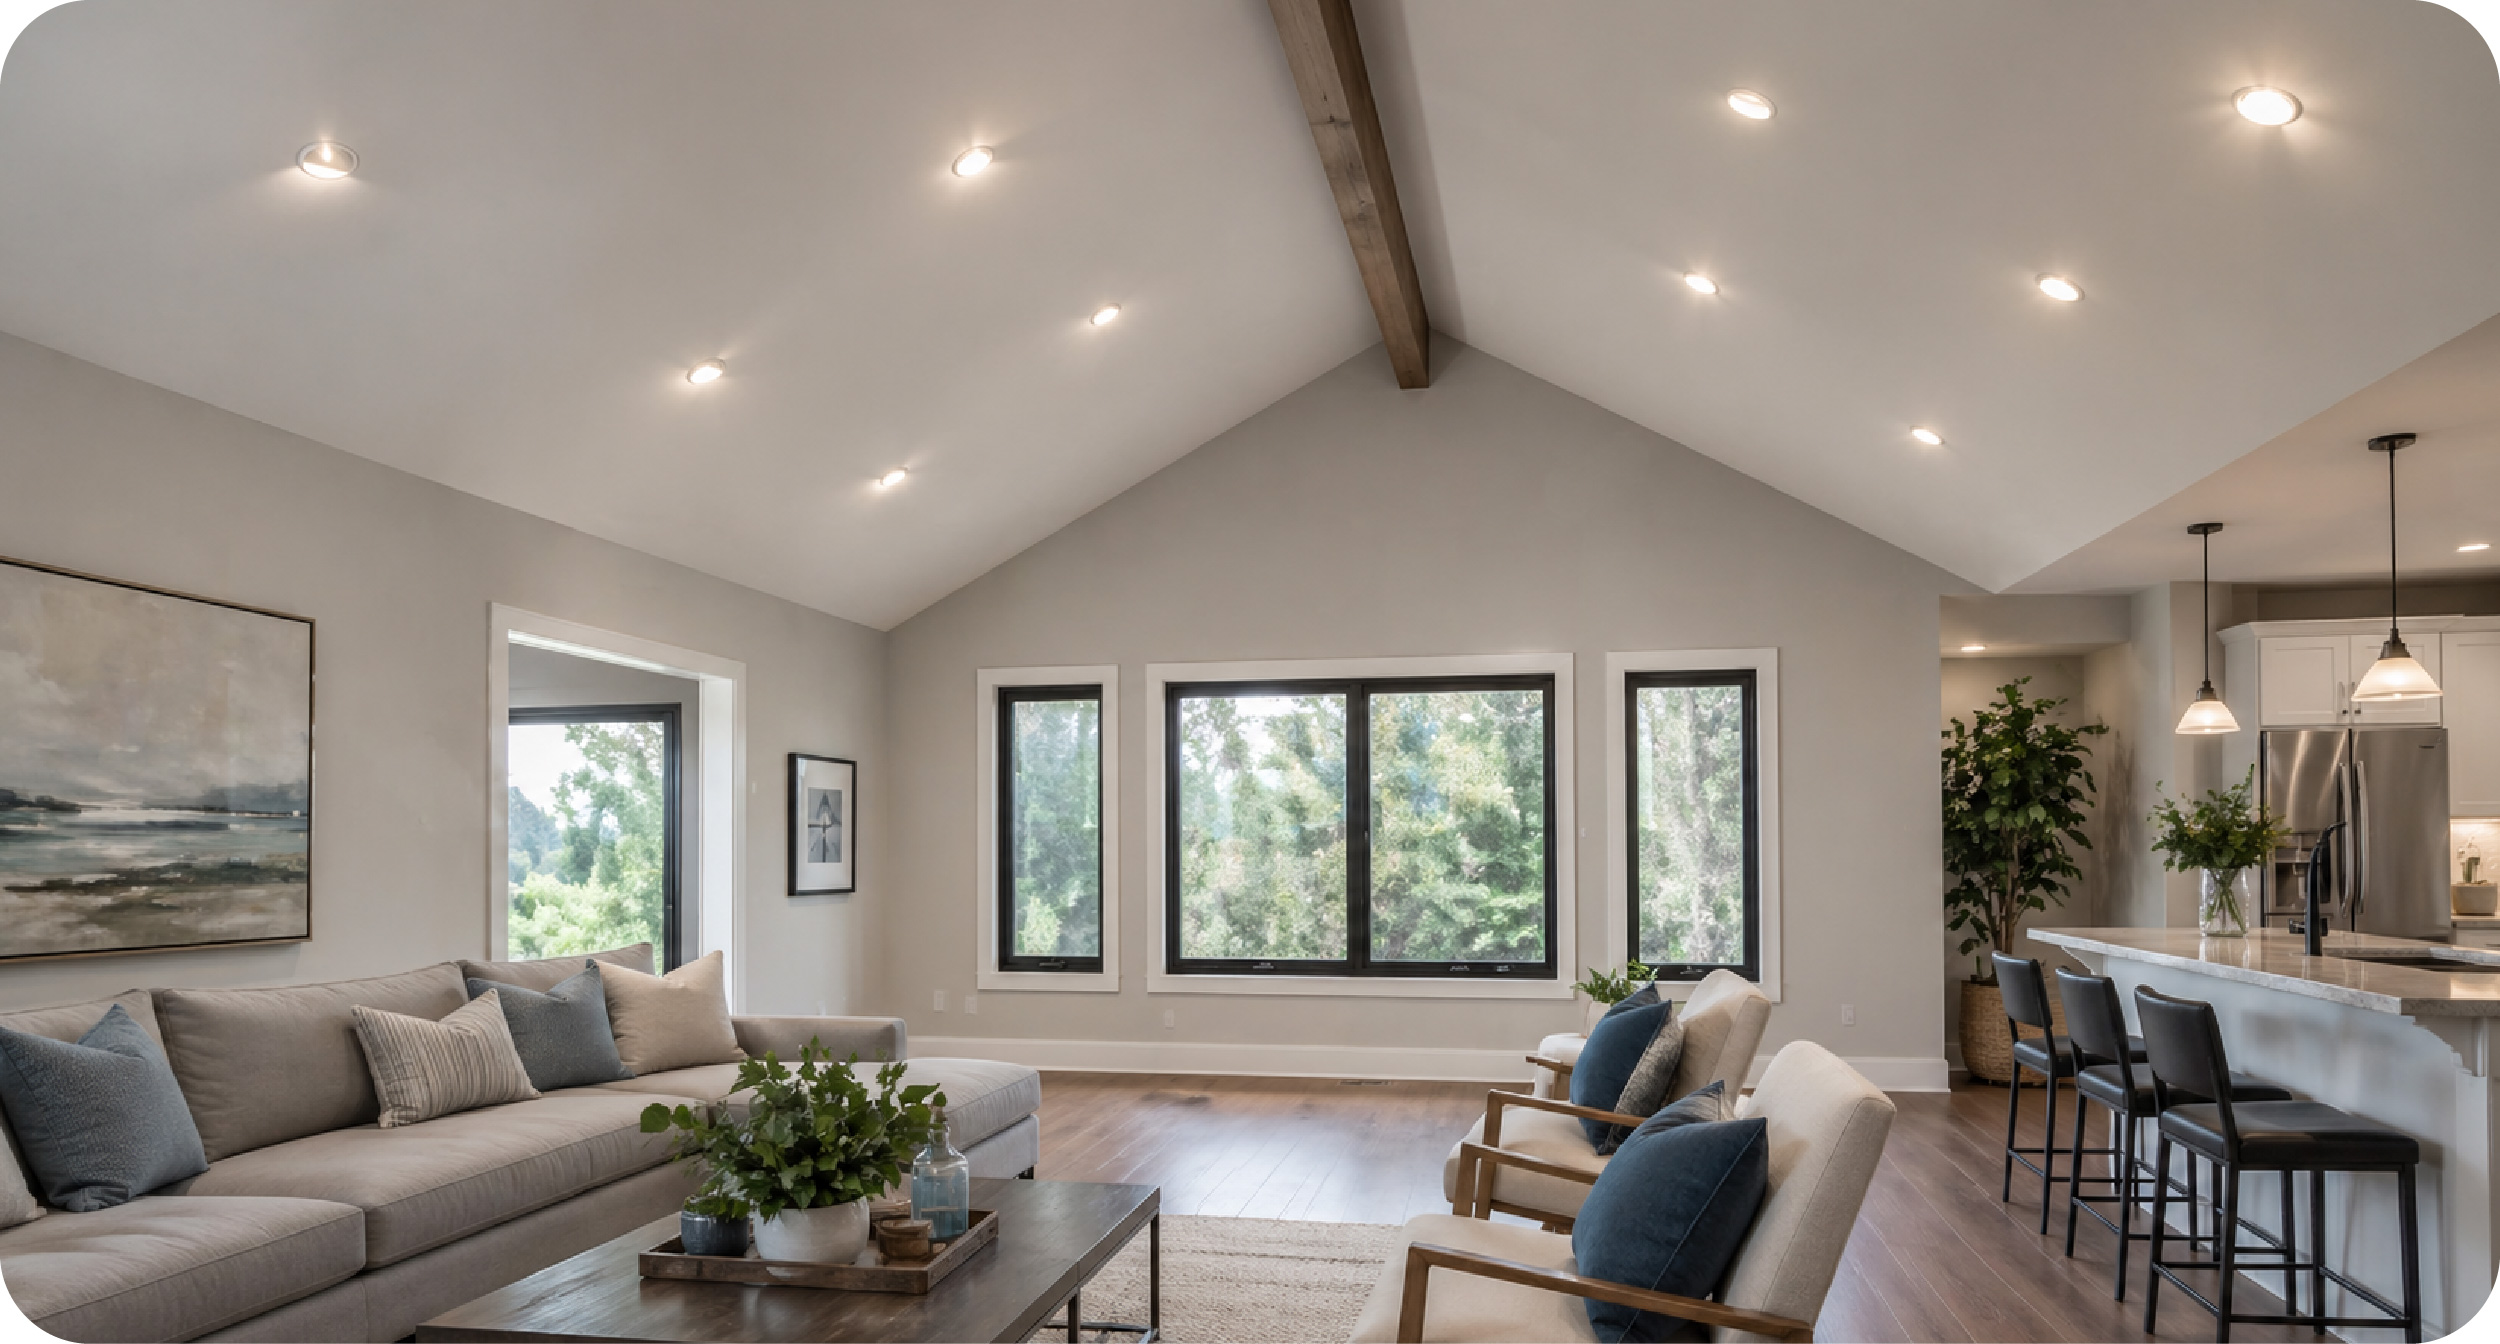
PRO TIP: For vaulted ceilings, aim gimbal fixtures slightly toward the center of the room rather than straight down. This produces a more even wash across the floor and reduces the hot-spot effect directly below each fixture.
Browse gimbal and adjustable downlights from Lotus LED, which offers particularly strong options for sloped ceiling and accent applications.
Fixture Selection: What to Specify Before You Buy
Once you’ve calculated spacing and determined fixture quantity, specification decisions determine which products actually work for your application.
New construction vs. retrofit:
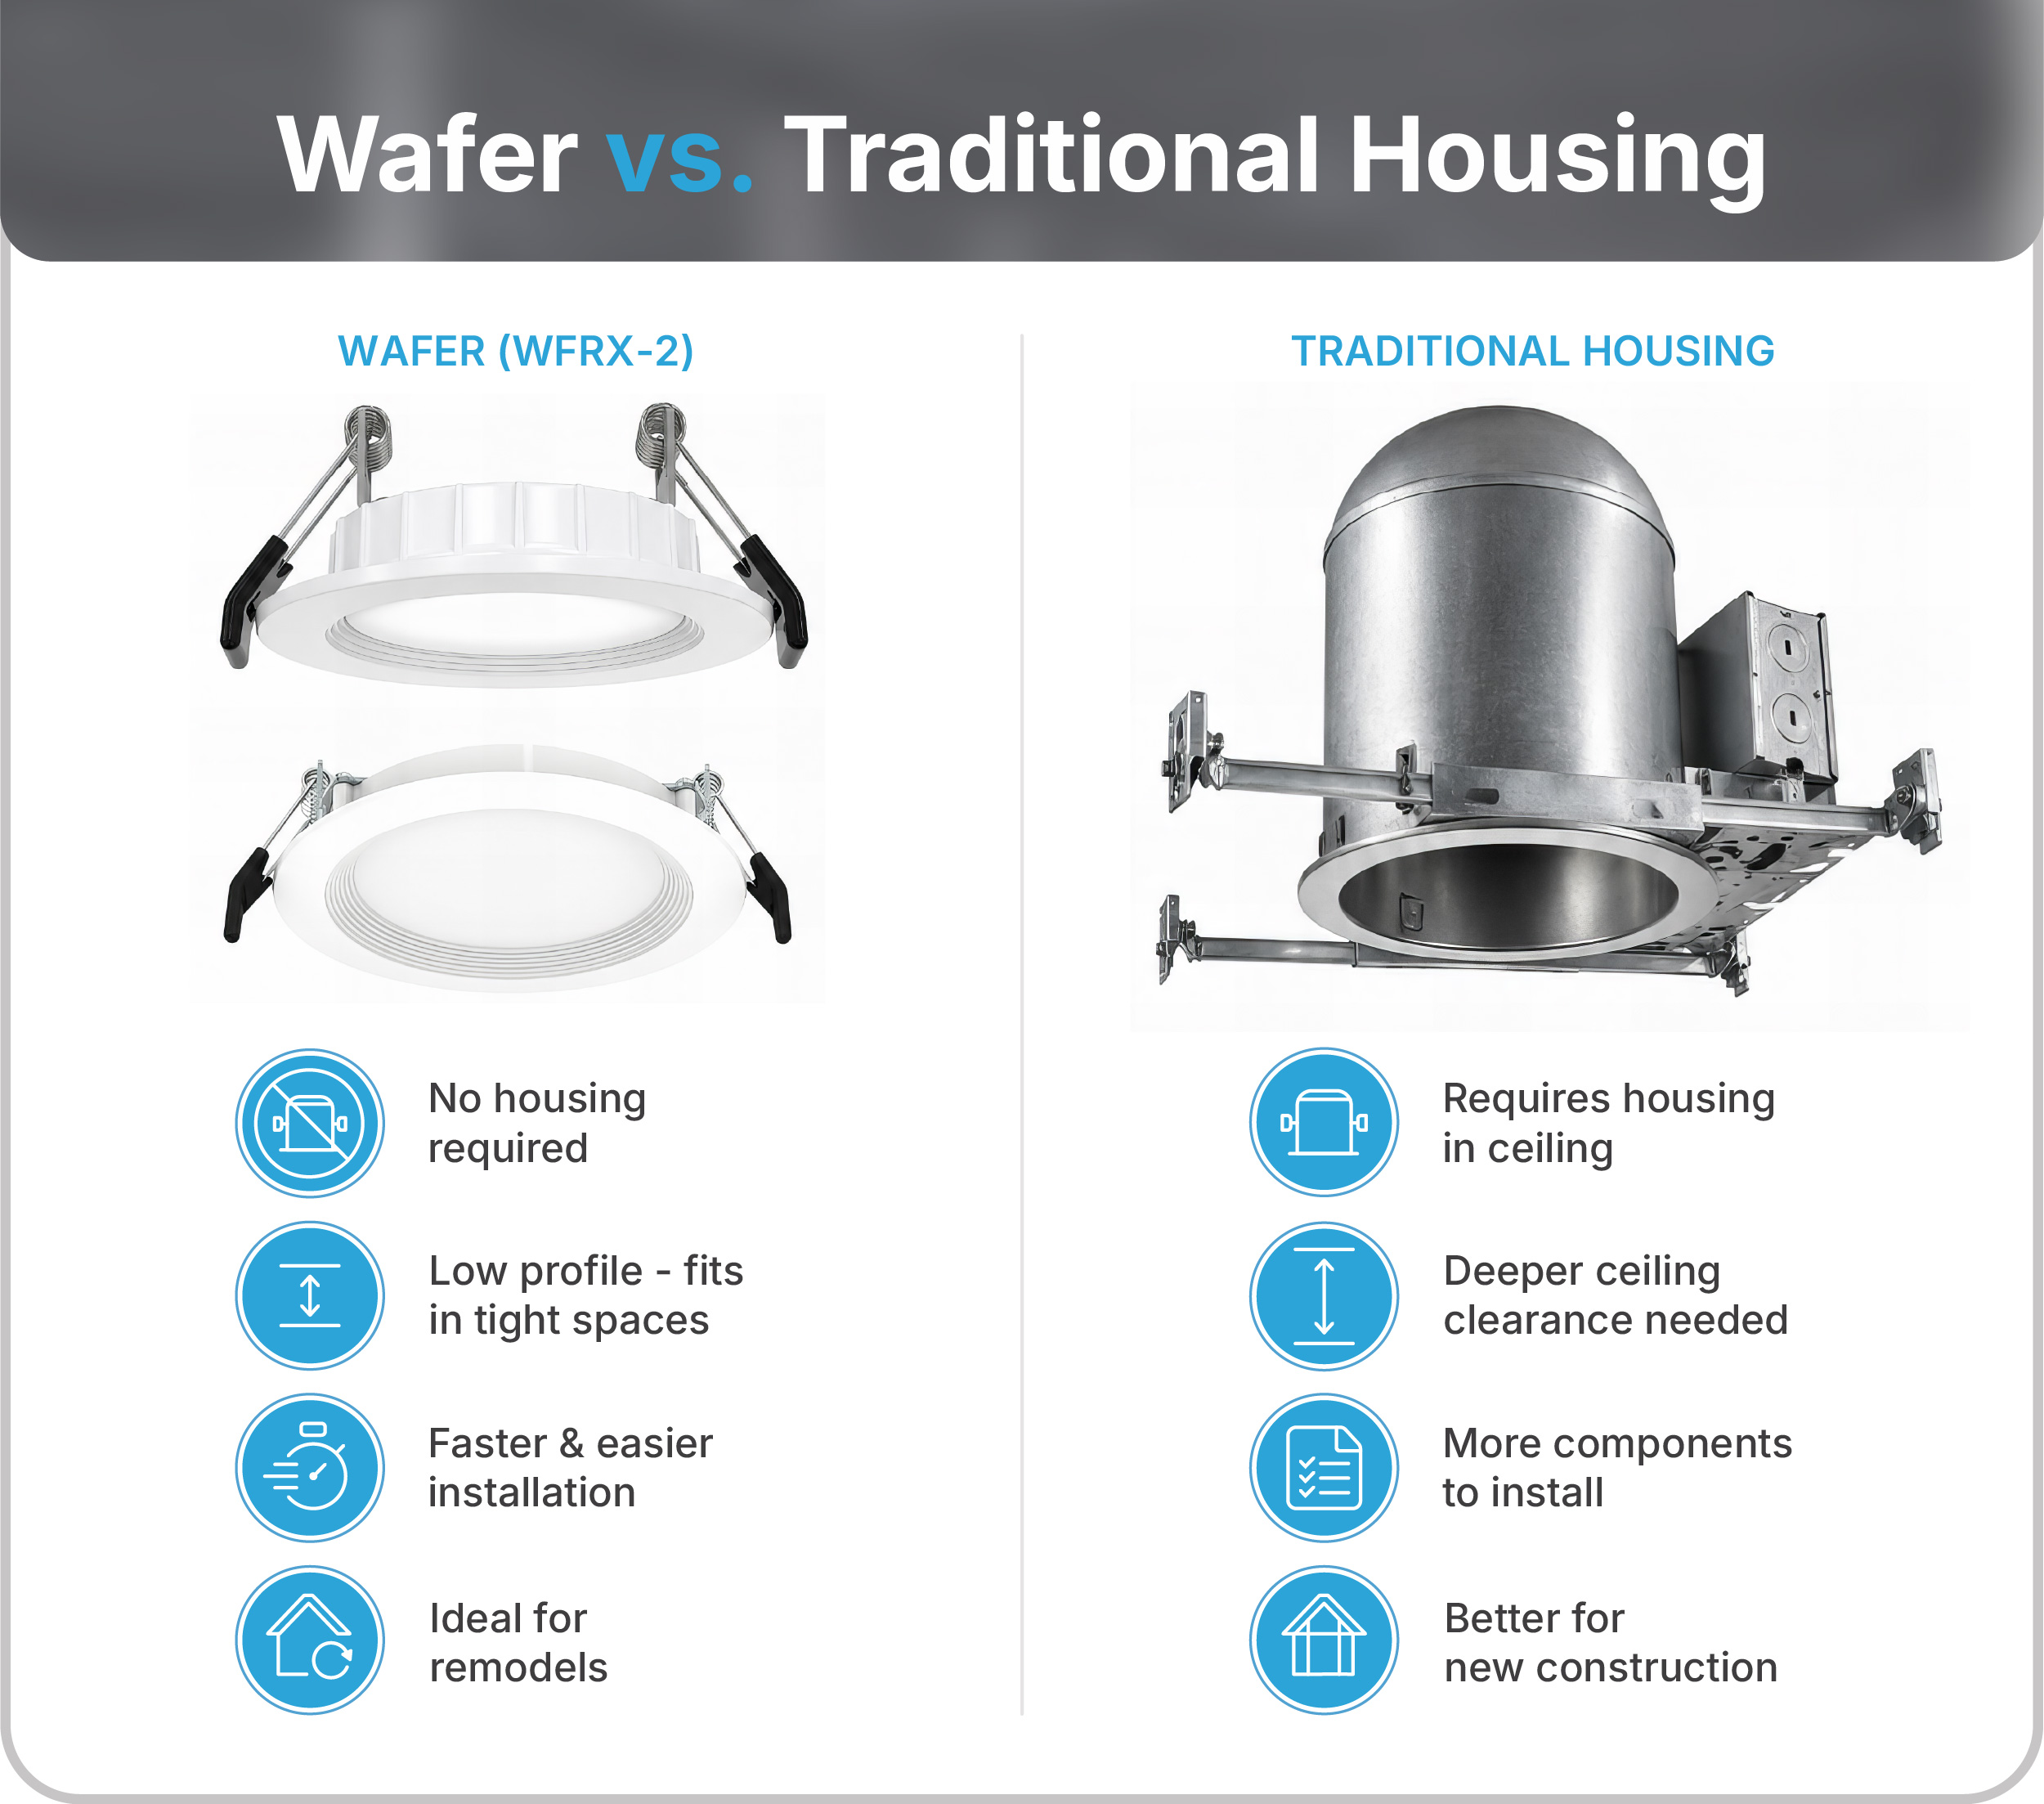
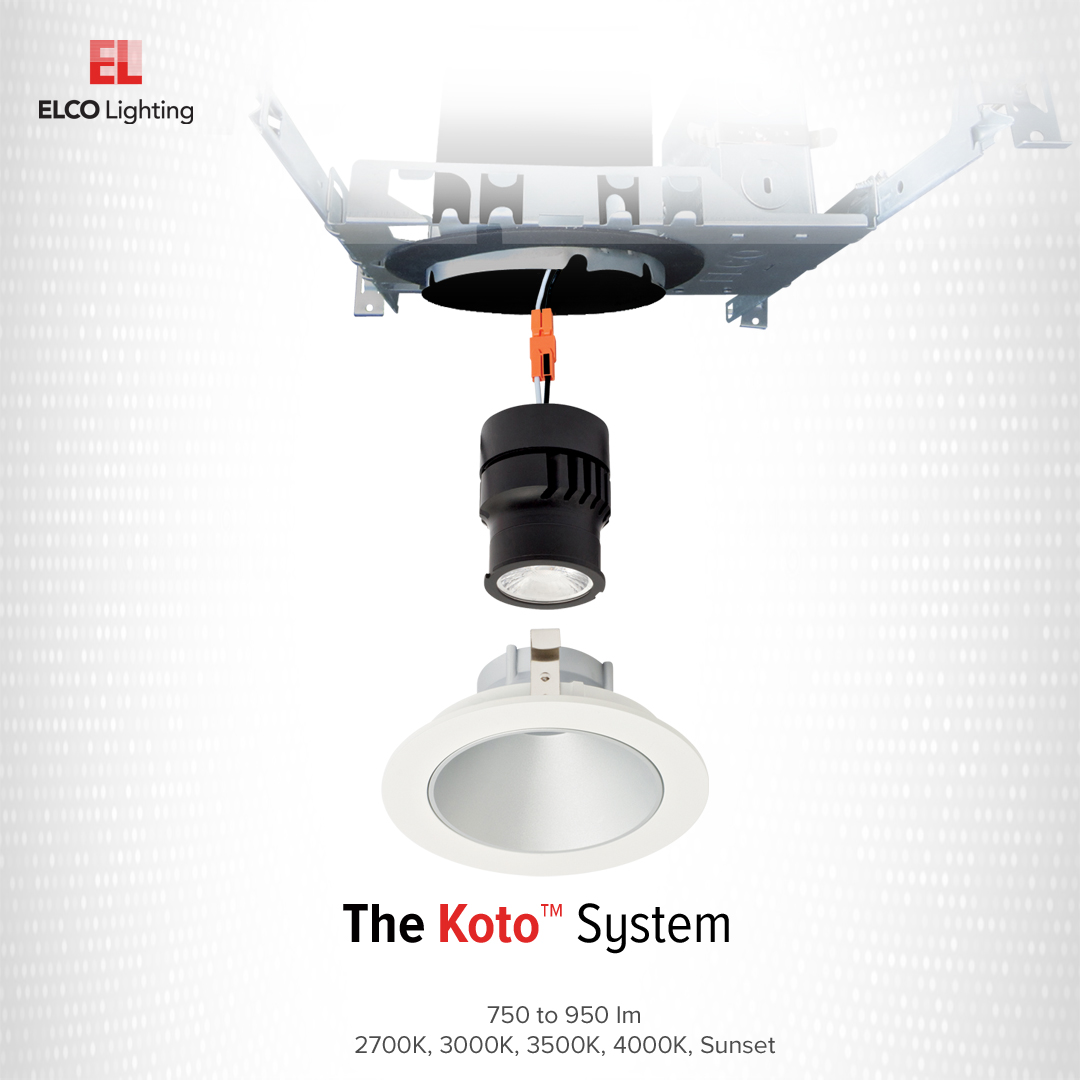
New construction fixtures install directly into open ceilings before drywall goes up. Most modern LED downlights are increasingly self-contained units where the fixture, driver, and trim come as a single assembly.
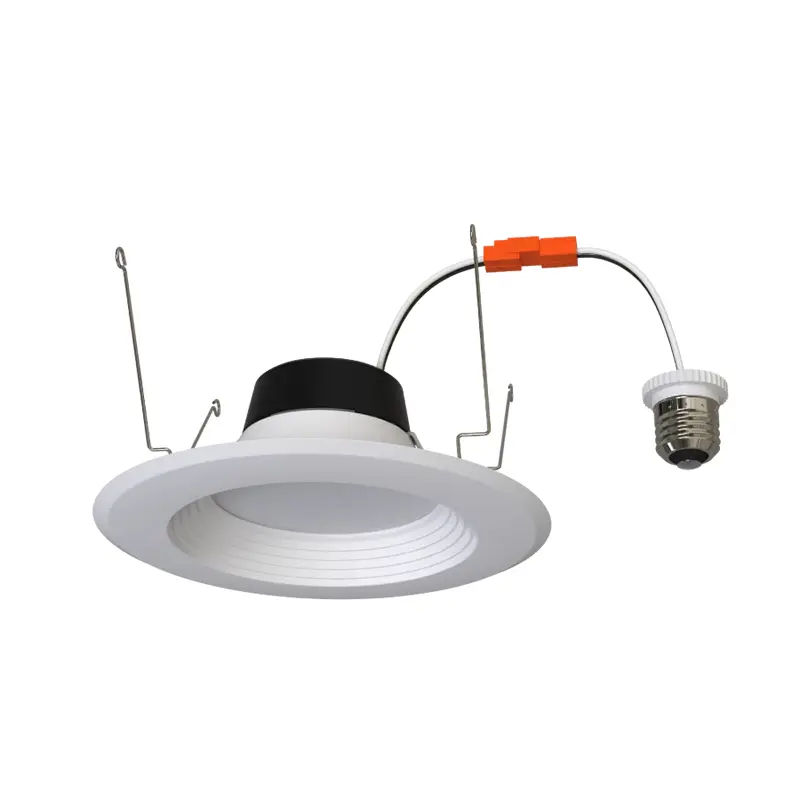
Retrofit fixtures install into existing recessed housings, replacing old incandescent or CFL bulbs and trim. Installation typically takes 15 minutes per fixture.
IC rated fixtures:
IC rated recessed lighting is the correct specification for virtually all insulated ceiling installations. IC rating (Insulation Contact) means the fixture can be installed in direct contact with insulation. Non-IC rated recessed lighting requires a minimum clearance from insulation, which is rarely practical in finished spaces. Most modern LED downlights carry IC rating because they produce minimal heat. Specify IC rated recessed lighting for all applications to eliminate installation issues and provide flexibility for future insulation upgrades.
CCT selectability:
CCT selectable fixtures include a switch that lets you choose color temperature before or after installation: typically 2700K, 3000K, 3500K, 4000K, and 5000K options. This lets you install the fixture, try different settings, and select what looks best in your space based on personal preference.
CCT selectable fixtures have become increasingly common. The small upfront cost premium can be worth it if you’re uncertain which color temperature you prefer, as it avoids the larger expense of replacing fixtures if you choose wrong initially. However, if you know your preferred color temperature, fixed CCT fixtures work perfectly well.
For more information on color temperature selection and how different CCT values affect space perception, see our color temperature guide.
Size selection by ceiling height:
- 2-4″ for accent lighting or compact spaces
- 4-6″ for standard residential applications with 8-9 foot ceilings
- 6-8″ for higher ceilings (10 feet or above) or commercial applications
Brand considerations:
RAB Lighting brings commercial/outdoor quality and durability to residential applications at competitive pricing as they expand their architectural product lines. Lotus LED offers extensive variety across price points, with particularly strong gimbal options for accent lighting. Sylvania delivers reliable performance and broad availability at accessible pricing.
For premium applications, DMF Lighting provides a modular downlight system with thousands of configuration options including field-adjustable output, dim-to-warm capability, and specification-grade performance typically found in high-end residential and hospitality projects. The significant price premium reflects this level of customization and flexibility that most projects don’t require.
Browse manufacturer lines:
Dimming Compatibility
Most residential LED downlights work with standard TRIAC (forward phase) dimmers found in existing homes. Verify dimmer compatibility before purchasing to avoid flickering or limited dimming range issues.
Dimmable recessed lighting is standard in most modern LED downlights, but not all fixtures dim equally well. Verify the specific dimmer compatibility list for your chosen fixture before purchasing. LED fixtures require dimmers specifically rated for LED use. Generic LED dimmers often won’t dim below 30-40%. Lutron LED+ dimmers typically reach 5-10% before turning off completely and maintain smooth, flicker-free operation throughout the entire range.
Always verify dimmer compatibility between your chosen fixtures and dimmer switches. See the full range of Lutron dimmers including both TRIAC and 0-10V options for larger installations.
Ready to Spec Your Project?
Recessed lighting planning comes down to three key decisions: calculating correct spacing using the 70% rule, determining fixture specifications based on application requirements (wet location ratings, output levels, color temperature based on personal preference), and verifying dimmer compatibility before purchase.
For detailed fixture selection guidance, see our Complete Guide to Choosing LED Recessed Lighting . Browse our full selection of recessed lighting fixtures to see available options by size, output, and features.
Need help calculating fixture quantity for your specific room dimensions? Our lighting specialists can provide customized recommendations based on ceiling height, room size, and application requirements. Contact us with your project details.
Related Products:
Related Articles:
Frequently Asked Questions
How many recessed lights do I need?
Use the 70% rule to calculate spacing, then count fixtures based on room dimensions. For a 12′ × 16′ room with 9-foot ceilings, maximum spacing is 6.3 feet (9 × 0.70). This typically requires 6-8 fixtures in a grid pattern. Rooms with windows, lamps, or pendants may need fewer fixtures.
How far apart should recessed lights be?
Maximum spacing equals 70% of ceiling height. For 8-foot ceilings: 5.6 feet between fixtures. For 10-foot ceilings: 7 feet maximum. Position the first fixture half this distance from walls (2.8 feet for 8-foot ceilings, 3.5 feet for 10-foot ceilings). Use this as your recessed lighting spacing calculator: ceiling height × 0.70 = maximum spacing, then divide by 2 for wall distance.
How many recessed lights per square foot?
Use the 70% spacing rule based on ceiling height rather than square footage. This accounts for actual light distribution patterns. A 100 sq ft room with 8-foot ceilings might need 4 fixtures, while the same area with 12-foot ceilings could need 6-8 fixtures due to wider spacing requirements.
How far should recessed lights be from cabinets?
Position recessed lights 12-18 inches from the face of upper cabinets to illuminate countertops without creating shadows. This ensures the light beam hits the front edge of the counter rather than washing the cabinet face. Align fixtures with cabinet runs and center beams on the outer edge of countertops.
Where to place recessed lights in kitchen?
Start with perimeter coverage following the 70% spacing rule, then address islands separately. Position fixtures over primary work zones (sink, range, prep areas) first. For galley kitchens, a single center row spaced 5-6 feet apart provides adequate coverage. Keep fixtures aligned with cabinet runs for clean visual lines.
How to layout recessed lighting for different ceiling heights?
Apply the 70% rule: multiply ceiling height by 0.70 to get maximum spacing. Higher ceilings allow wider spacing but may require larger fixtures (6-8″) or higher lumen output (1000-1200 lumens). Lower ceilings (under 8 feet) benefit from smaller fixtures (3-4″) at tighter spacing.
What ratings do I need for bathrooms and outdoor recessed lighting?
In bathrooms, fixtures over showers or tubs must be wet location rated. Steam showers require steam-rated fixtures. For outdoor applications, wet location rating is recommended for all installations, even covered soffits, because wind-driven rain can reach protected areas. Wet-rated fixtures use sealed housings that prevent moisture intrusion.
How do I choose fixture size and brightness for each room?
Size: 4-5 inches for 8-9 ft ceilings; 6-8 inches for 10 ft+ ceilings; 2-3 inches for accent areas. Brightness: Kitchens 800-1200 lumens; Bathrooms 600-900 lumens; Living rooms 800-1000 lumens; Bedrooms 600-800 lumens; Outdoors 700-1000 lumens. Color temperature is personal preference: 2700K-3000K for warm residential, 3500K-4000K for task/commercial applications. For maximum flexibility, choose dimmable fixtures and pair them with a quality LED dimmer to adjust brightness levels for different activities and times of day.


Comments are closed.